

Starting your ceramics journey shouldn’t be intimidating or expensive. With the right tutorials and materials, anyone can experience the joy of clay—no kiln required. Air dry clay has become a favorite among crafters, students, and home decor enthusiasts for its simplicity, versatility, and accessibility. In this comprehensive guide, discover five beginner-friendly air dry clay projects you can make at home using basic tools and your imagination. From trendy home accessories to stylish gifts, these projects are proof that you don’t need firing or advanced skills to create something beautiful, functional, and 100% your own.
Why Choose Air Dry Clay?

Air dry clay is ideal for beginners, hobbyists, and creative entrepreneurs for several reasons:
-
No kiln or oven required—just shape and let dry naturally.
-
Easy to work with, cut, mold, roll, emboss, and paint.
-
Affordable and widely available at craft stores.
-
Dries to a lightweight but sturdy finish perfect for home use and decorative items.
-
Allows for easy repairs and modifications during crafting.
Whether you want to try your hand at ceramics for fun or are building skills for future artistry, air dry clay is the perfect medium to get started.
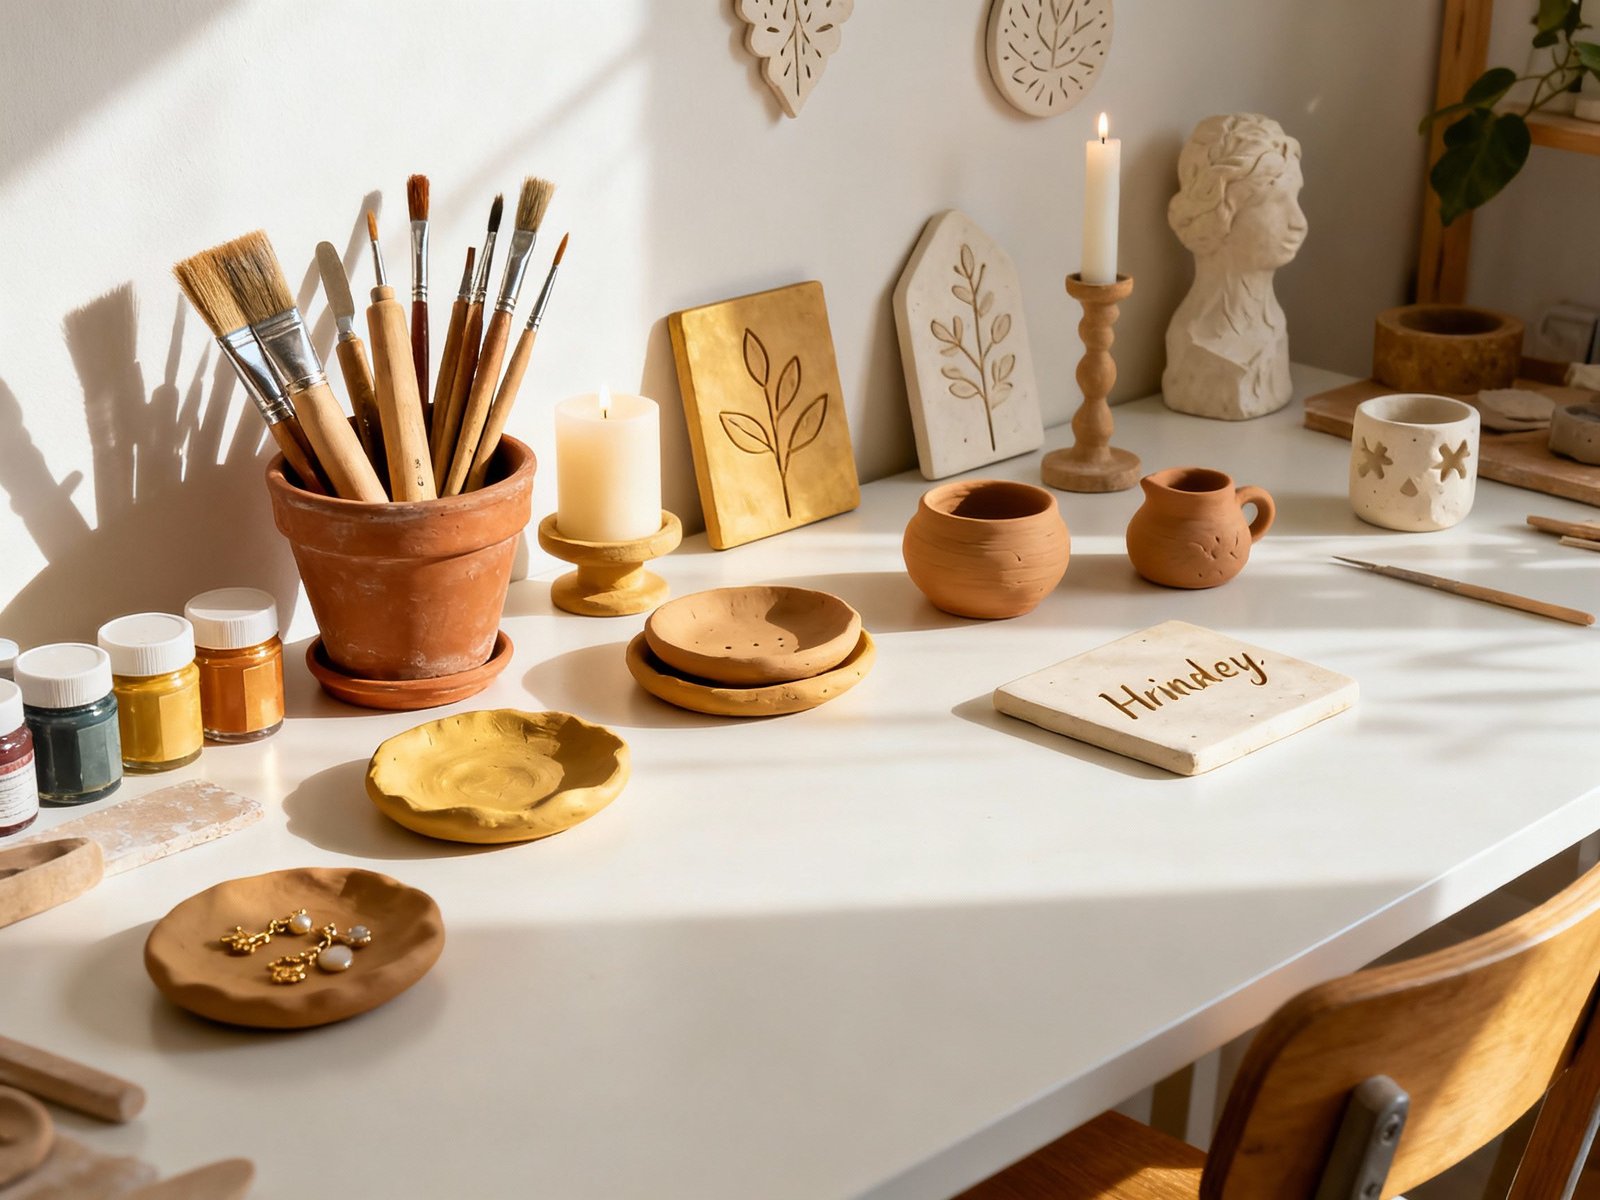
Materials & Tools You Will Need

Before you begin, gather these essentials:
-
Air dry clay (white or terracotta, any brand)
-
Sculpting tools (plastic or wooden, or use household items like knives, forks—preferably wood for natural looks, or even a pencil)
-
Rolling pin or bottle for flattening clay
-
Water and sponge for smoothing
-
Sandpaper (optional, for final smoothing)
-
Acrylic paint and brushes (optional)
-
Varnish or sealer (for waterproofing or gloss)
-
Wax paper or clean board to work on
Essential Tips for Success
-
Knead clay before use to soften and eliminate air bubbles.
-
Keep clay covered with a damp towel if working slowly, as it dries quickly.
-
Let pieces dry on a flat, clean surface away from direct heat or sunlight.
-
Allow at least 24-48 hours for thorough drying, depending on thickness.
-
Sand gently before painting or sealing for a professional look.
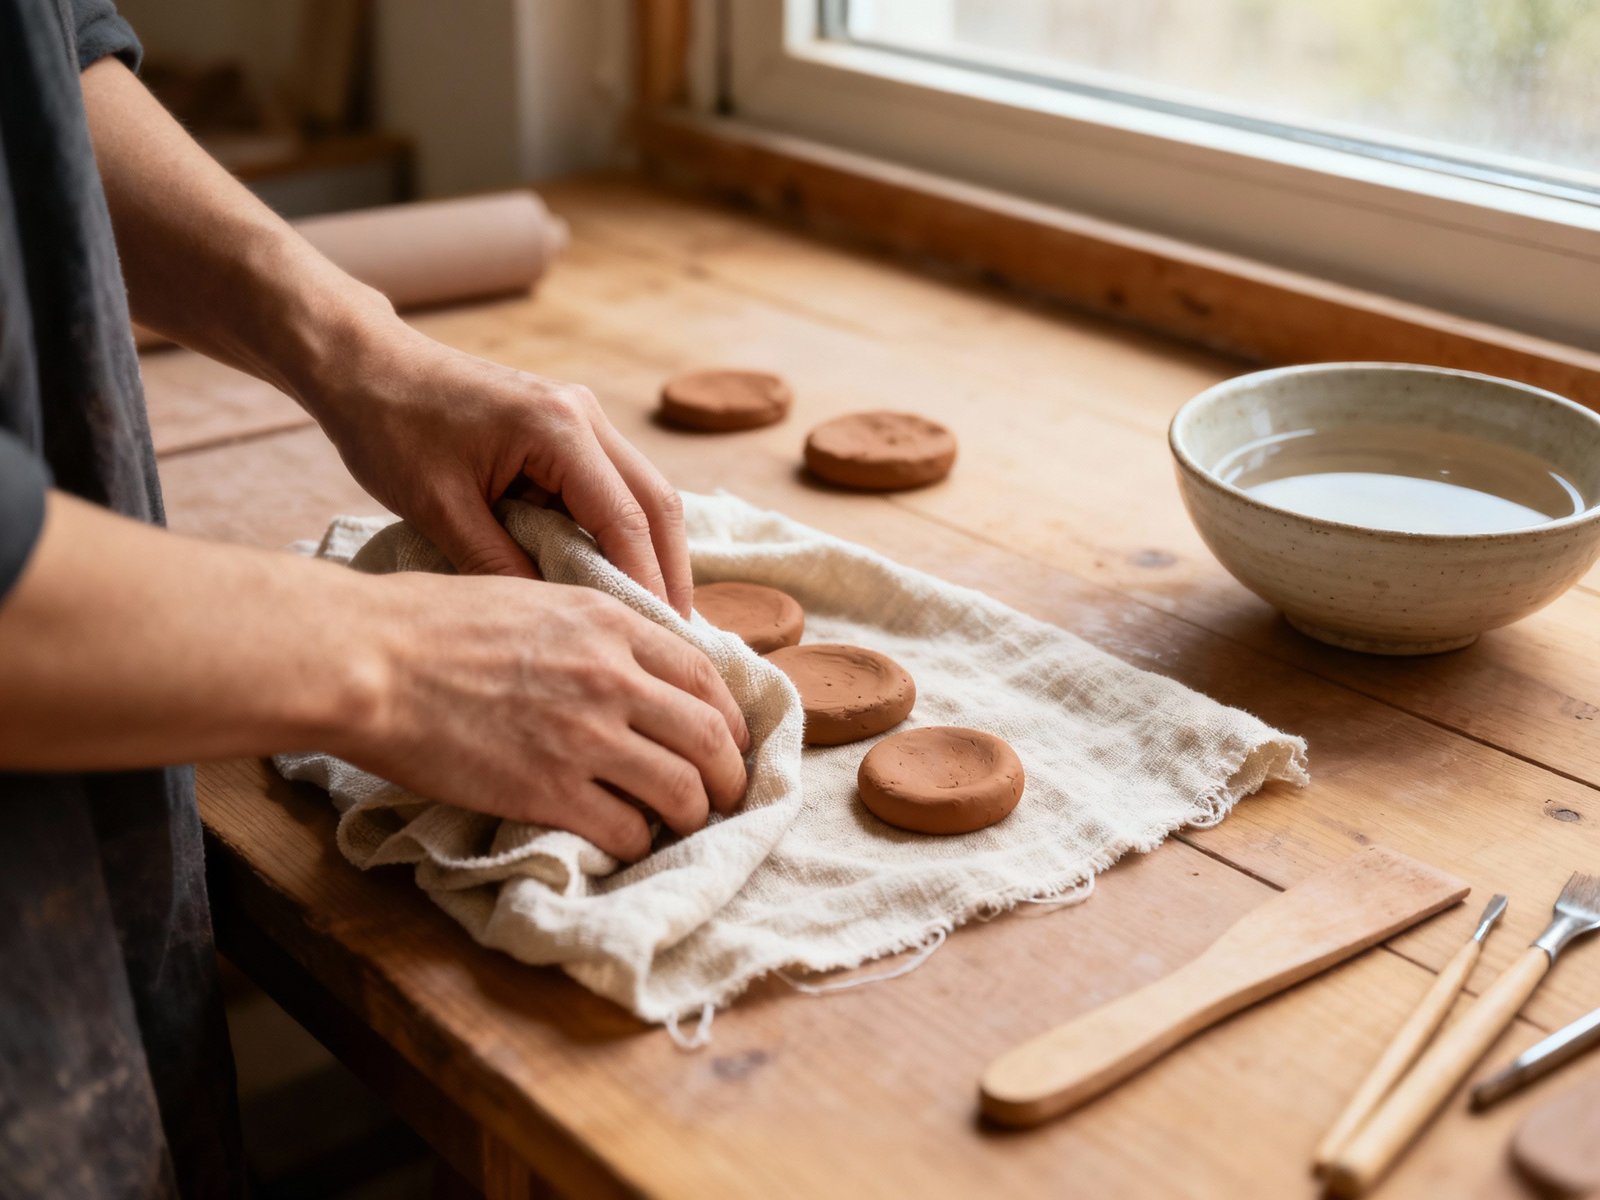
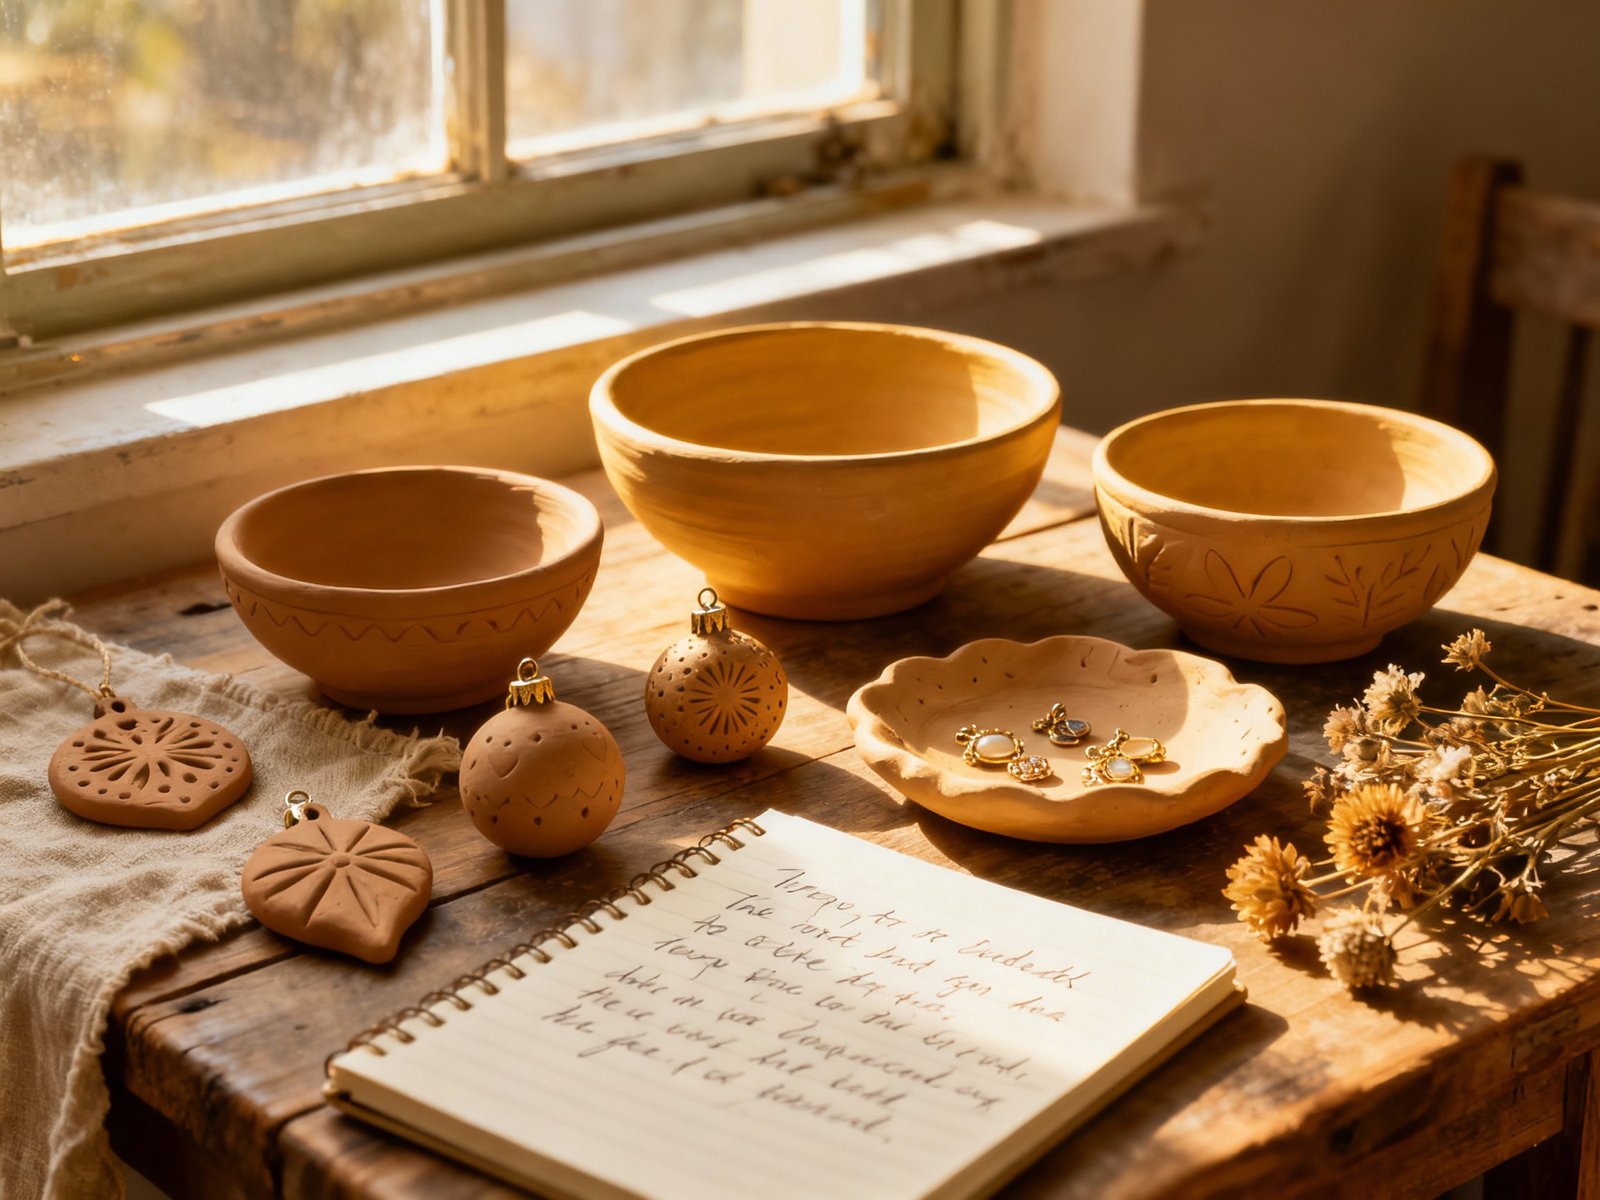
Project 1: Minimalist Trinket Dishes
Why Make Trinket Dishes?
Perfect for jewelry, keys, or desk accessories—these dishes are endlessly adaptable and make great gifts.
How-To:
-
Roll clay into a ball and flatten to around 1/4″ thick.
-
Use a bowl as a template to cut a circle or shape by hand for organic charm.
-
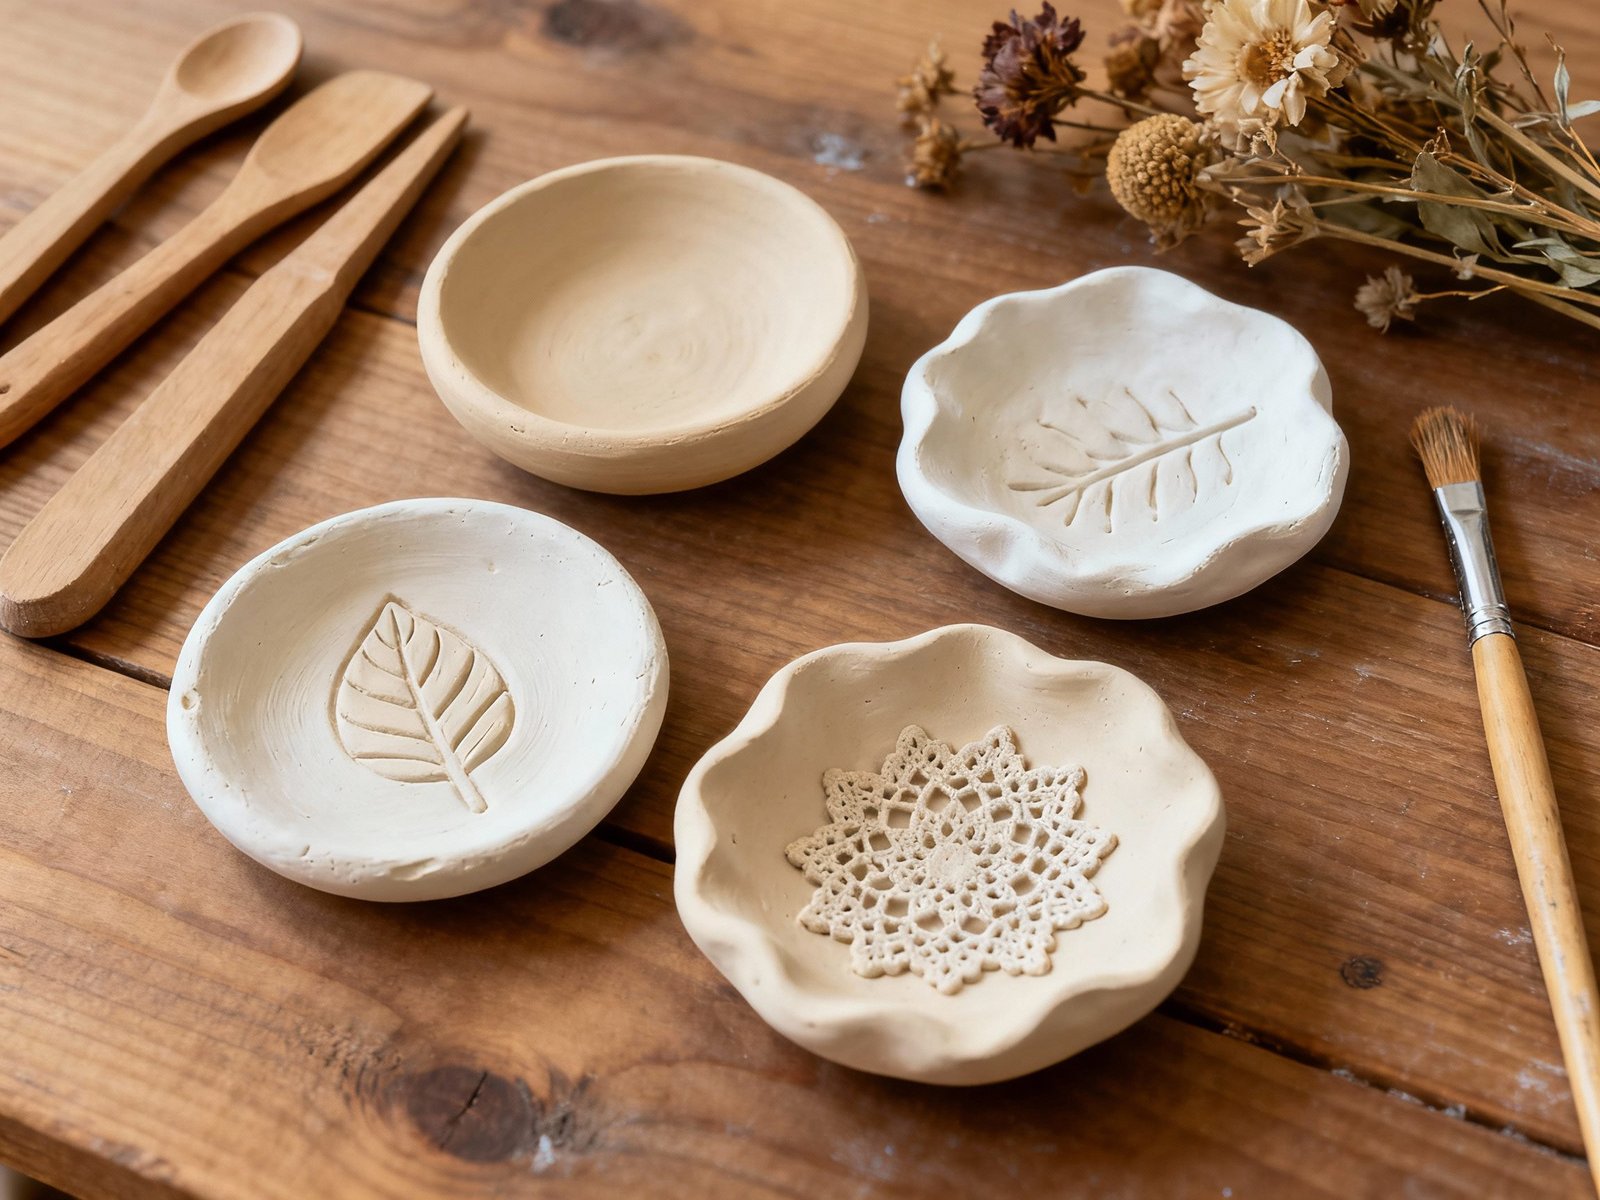
Gently mold the edges upward or leave flat for a plate style.
-
Add detail: imprint patterns using lace, leaves, wooden tools, or stamps.
-
Let dry thoroughly, then sand and paint as desired.
-
Seal to protect from moisture if planning to use for bathroom storage.
Creative tip: Try marbling two colors together or applying gold leaf for an artisanal finish.
Project 2: Handbuilt Pinch Pots
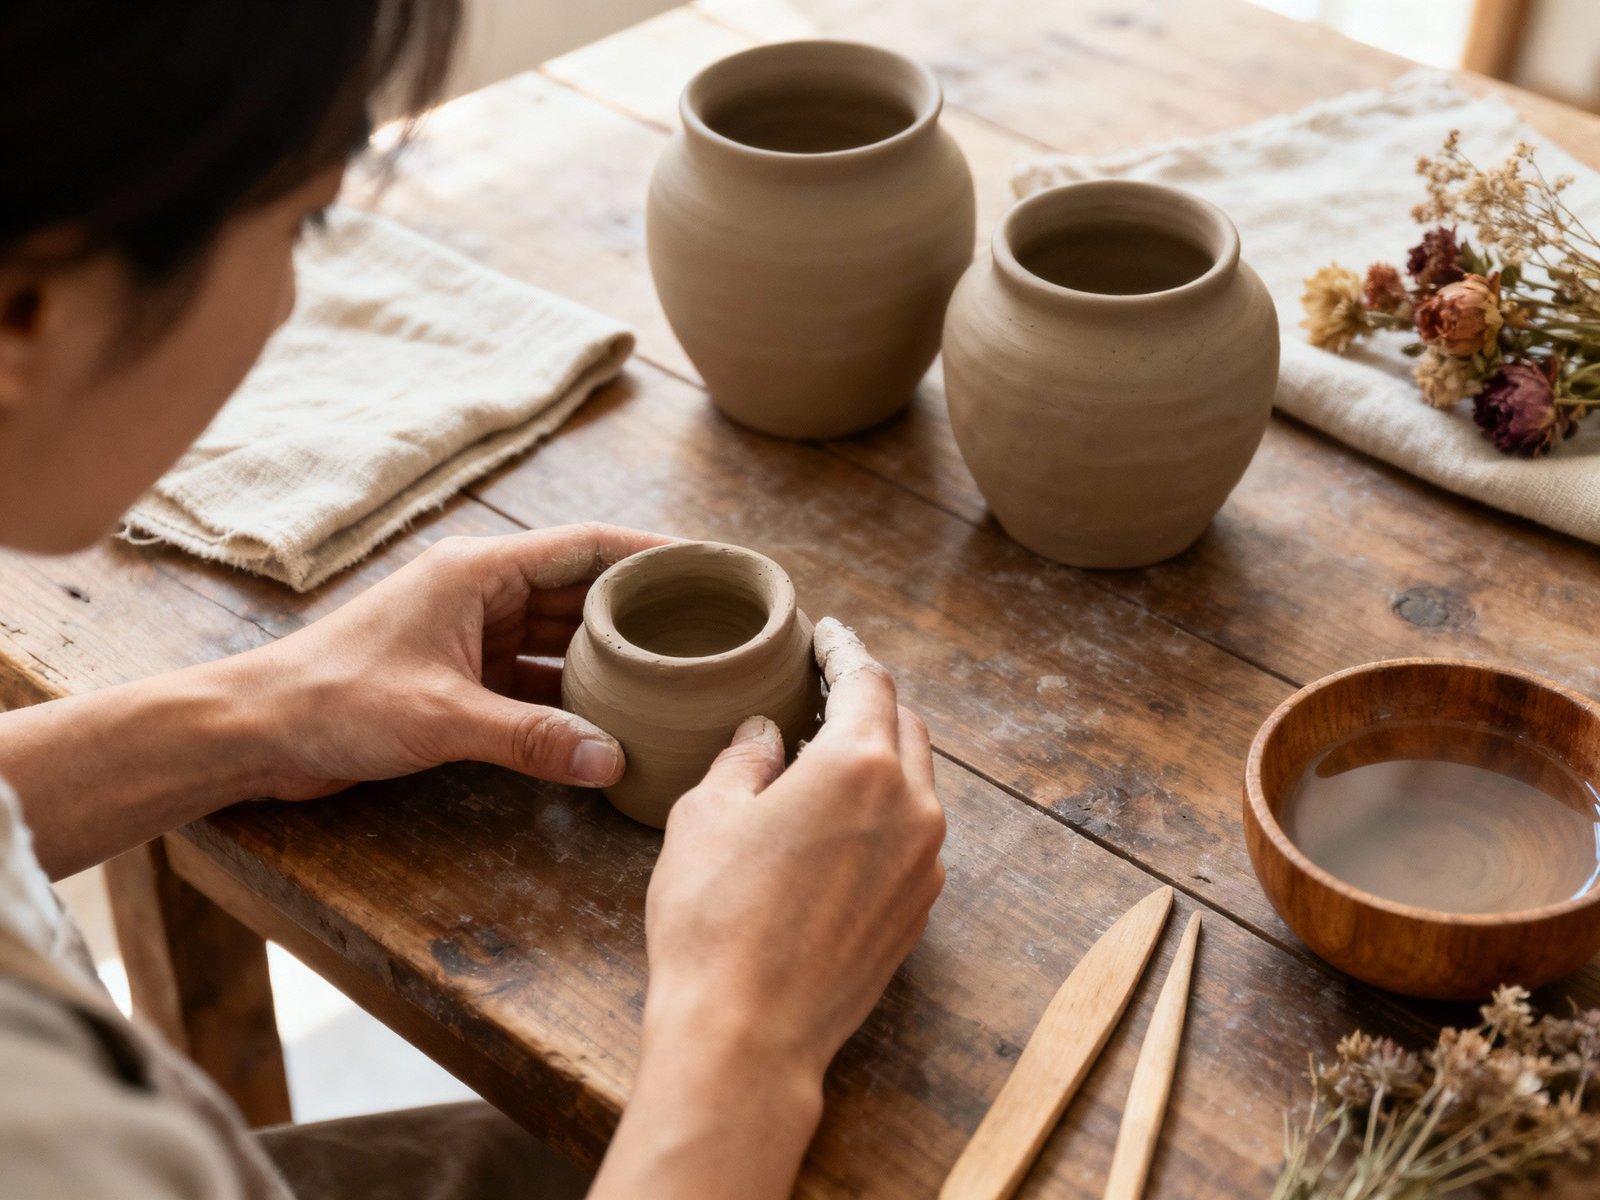
Why Make Pinch Pots?
These are traditional beginner projects because they’re forgiving and ideal as plant pots, candle holders, or decorative bowls.
How-To:
-
Roll clay into a ball roughly the size of a lemon.
-
Use your thumb to press an opening in the center.
-
Pinch and turn, smoothing as you go, to form an even wall all around.
-
Shape edges for a natural look or decorate with simple carved lines.
-
Allow to dry and then sand to refine before painting or sealing.
Pro tip: For a matched set, make several in different sizes and nest them.
Project 3: Personalized Name Plaques or Hanging Signs
Why Make Name Plaques?
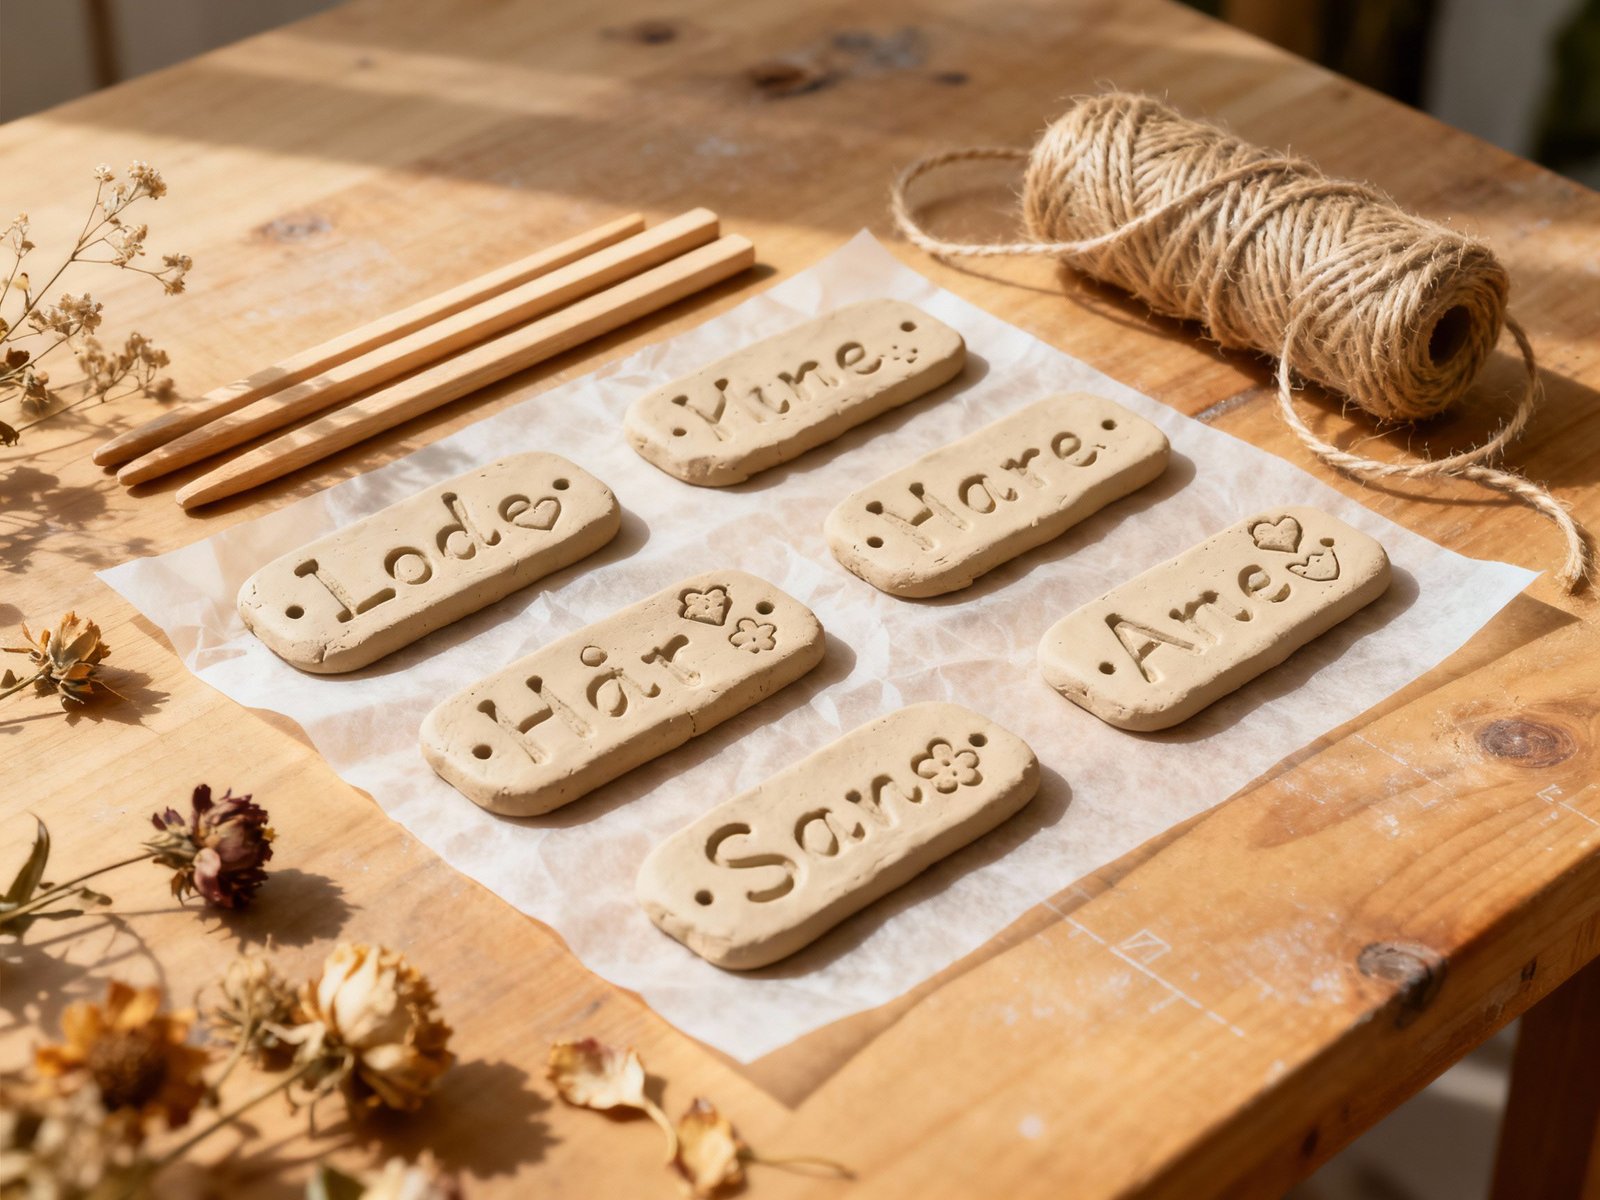
Custom signs add a handmade touch to doors, rooms, or gifts—and they’re fun to decorate.
How-To:
-
Roll clay into a slab about 1/3” thick.
-
Cut out a rectangle, oval, or custom shape.
-
Use letter stamps or a wooden stick to etch names, words, or designs into the clay.
-
Punch holes at the top before drying if you plan to hang with string.
-
Once dry, paint letters or embellishments for extra flair.
Display tip: Mount with ribbon, twine, or wood/beaded hangers for a natural look.
Project 4: DIY Incense or Candle Holders
Why Make Holders?
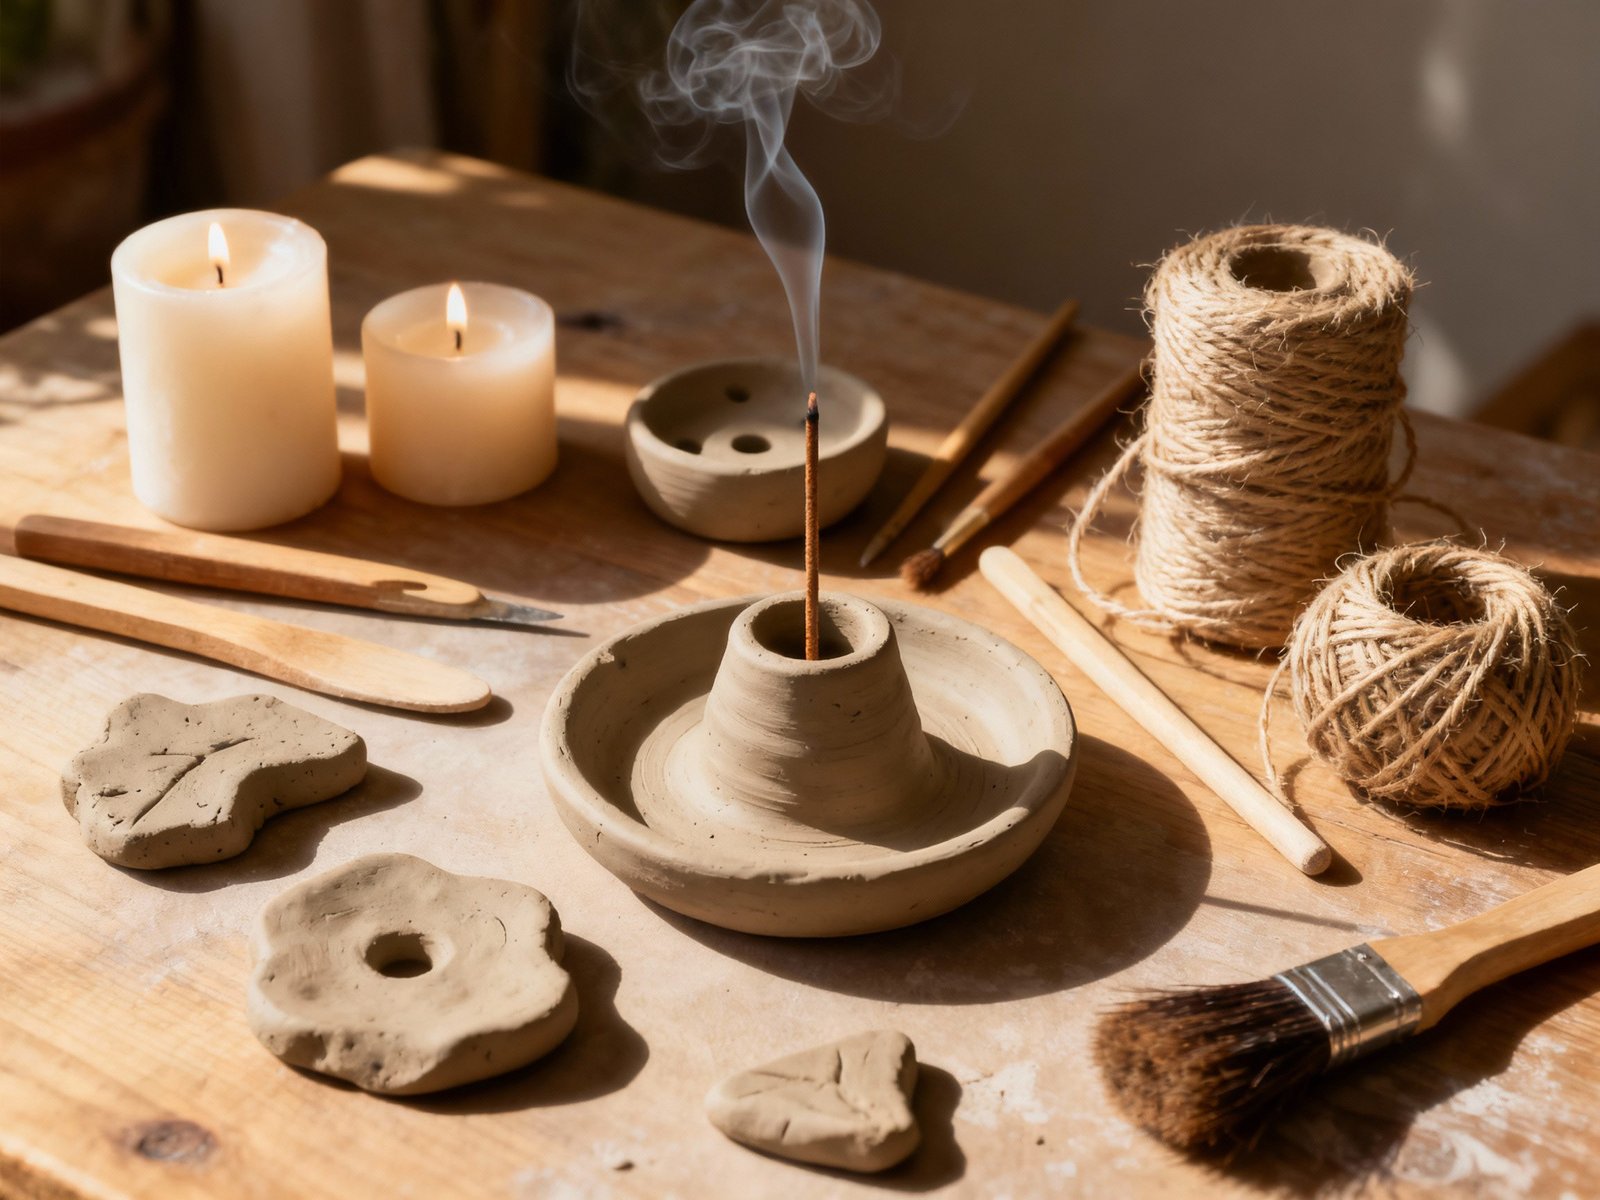
Not only practical—they make for a cozy handmade addition to any space or a thoughtful homemade gift.
How-To:
-
Form a small ball or oval base of clay.
-
For incense: poke a hole in the center for a stick, reinforce so it won’t tip.
-
For candles: mold a shallow, slightly concave disk, or create a holder for tea lights.
-
Decorate with carved patterns, imprints, or painted details.
-
Allow to dry and cure fully before first use.
Safety tip: Use only battery-operated candles or ensure candles do not burn unsupervised, as air dry clay is not as fireproof as fired ceramics.
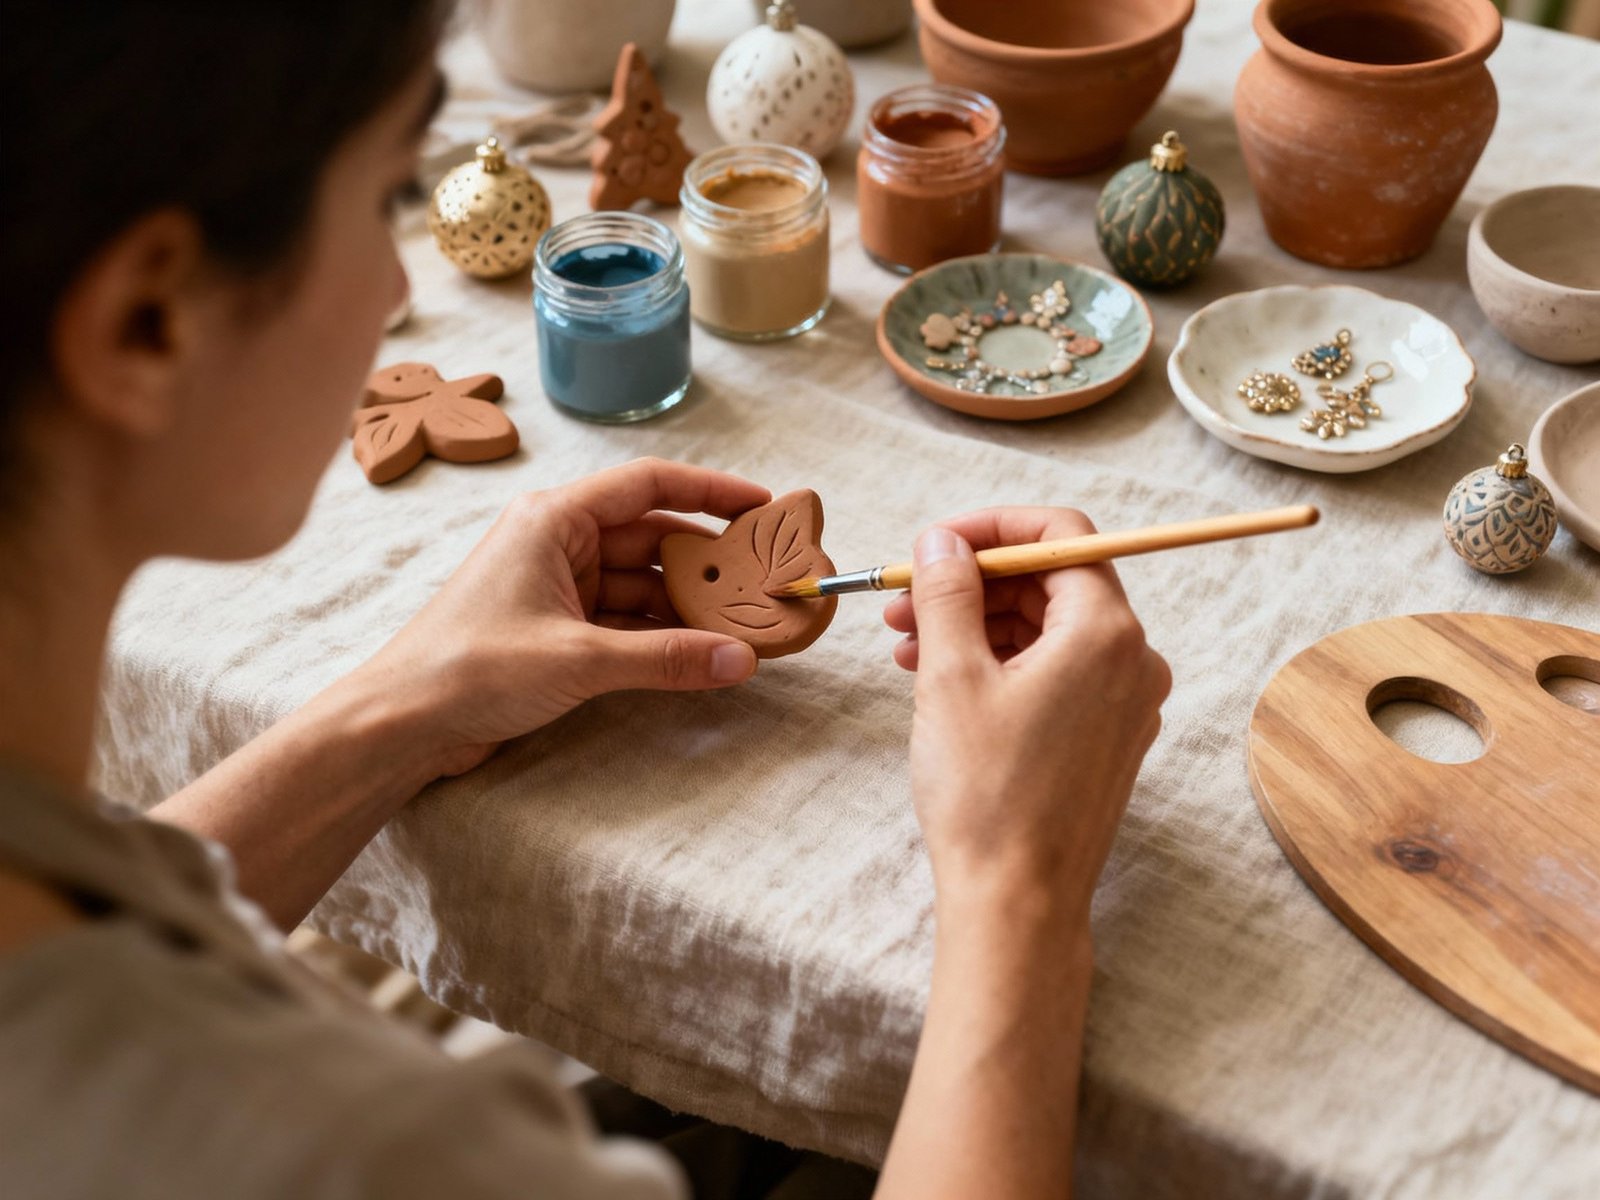
Project 5: Decorative Wall Hangings or Ornaments
Why Make Wall Hangings?

Make your own art—these can be geometric shapes, botanical motifs, or seasonal themes.
How-To:
-
Roll out clay and cut shapes using cookie cutters, cups, or freehand designs.
-
Use a straw or pencil to make holes for hanging.
-
Create texture by pressing fabric, leaves, or stamps into the clay.
-
Let dry, then string together with twine or ribbon to create hanging art.
-
Paint with acrylics or leave raw for organic charm.
Inspiration: Try creating a mobile with crescents, moons, and circles, or make botanical pieces for spring.
Finishing, Painting, and Sealing Your Air Dry Clay Creations
Once your projects are dry:
-
Gently sand rough edges for smoothness.
-
Paint with acrylics for vibrant color or patterns.
-
Leave raw or use clear varnish to protect from dust and moisture.
-
For a matte, rustic look use a wax sealer; for shine, use gloss varnish.
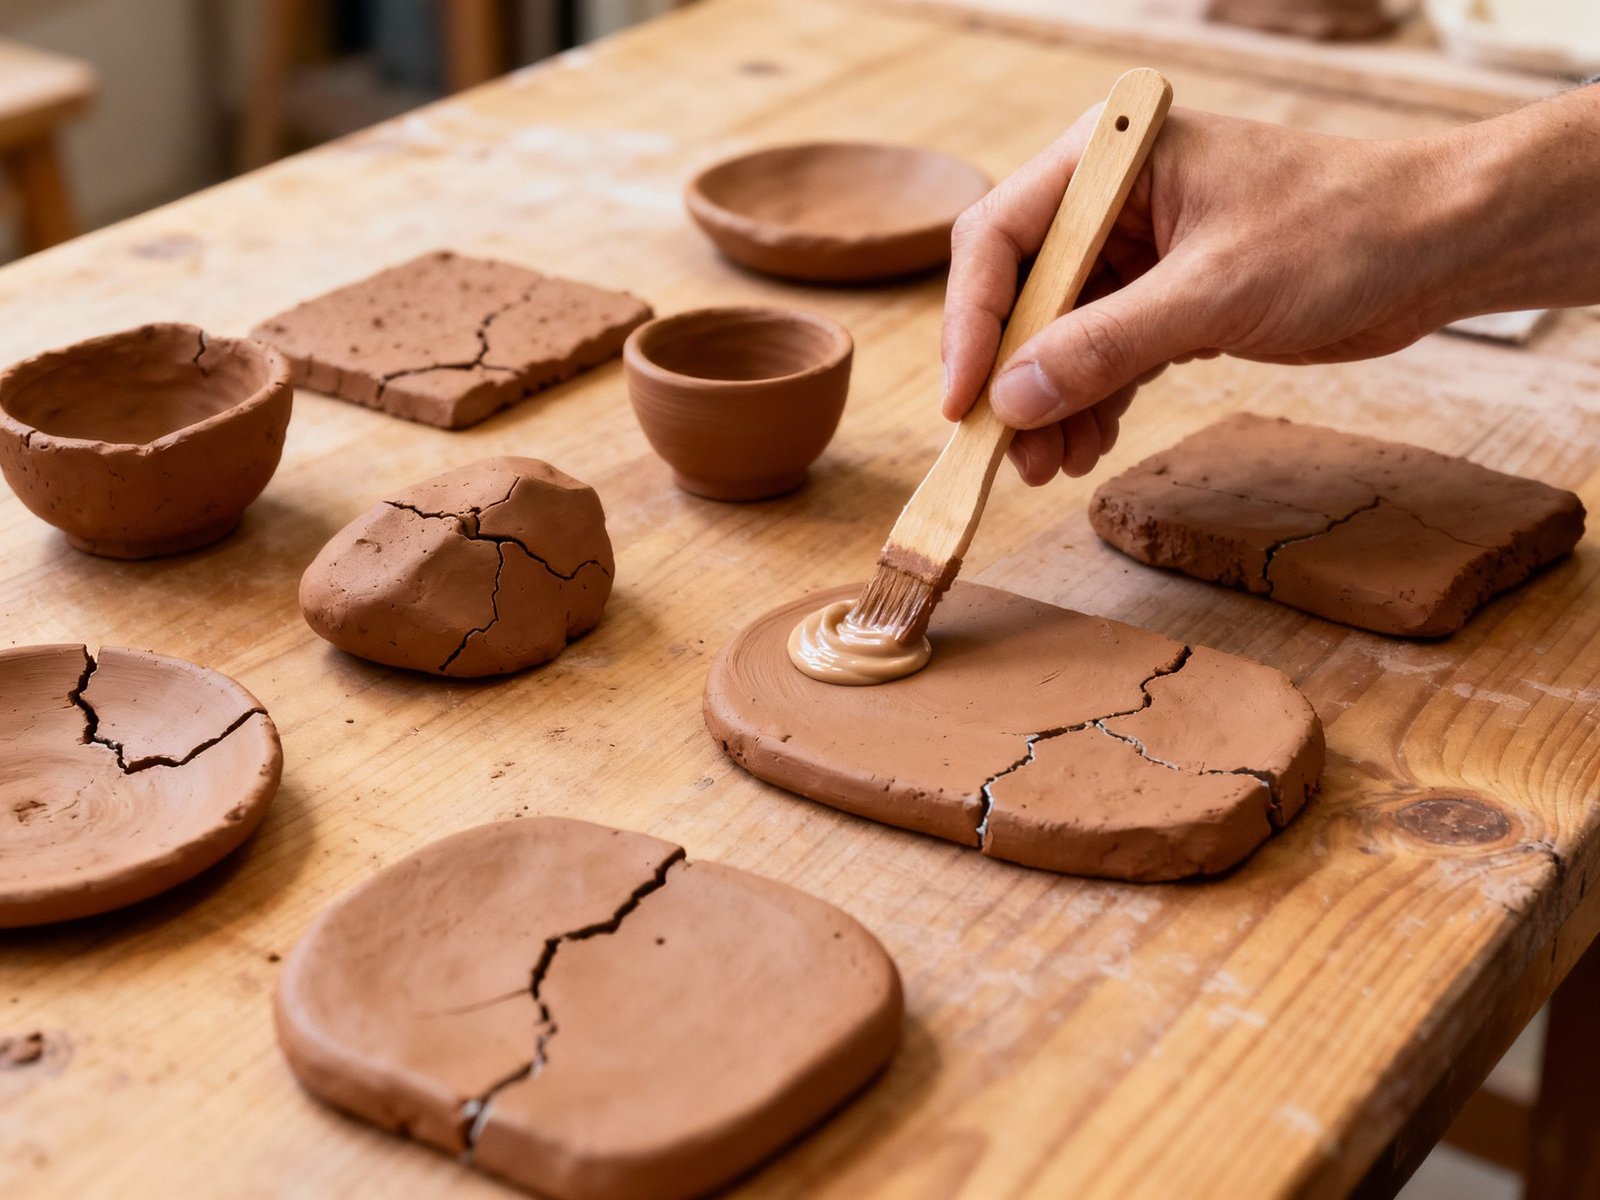
Troubleshooting: Common Beginner Questions
-
Why is my clay cracking?
-
Clay is drying too fast. Cover with a damp cloth and avoid direct heat.
-
-
How can I fix broken pieces?
-
Use a small amount of fresh clay mixed with water as “clay glue.”
-
-
Can I make air dry clay food-safe?
-
Air dry clay is not food-safe; use only for decor, storage, or display.
-
-
How to prevent warping?
-
Dry pieces slowly and flip occasionally.
-
Final Thoughts: Why Try Air Dry Clay?
Air dry clay opens up the world of handmade ceramics to everyone, regardless of access to equipment or art school skills. It’s affordable, tactile, and satisfies the creative urge to make, shape, and decorate objects for your home or for loved ones. Each piece reflects your hands—and your story—making it 100% unique.
Whether you’re starting your creative journey, looking for a calming hobby, or seeking a new way to elevate your living space, give these easy air dry clay projects a try. You’ll discover how much joy, beauty, and meaning you can create—no kiln required.