

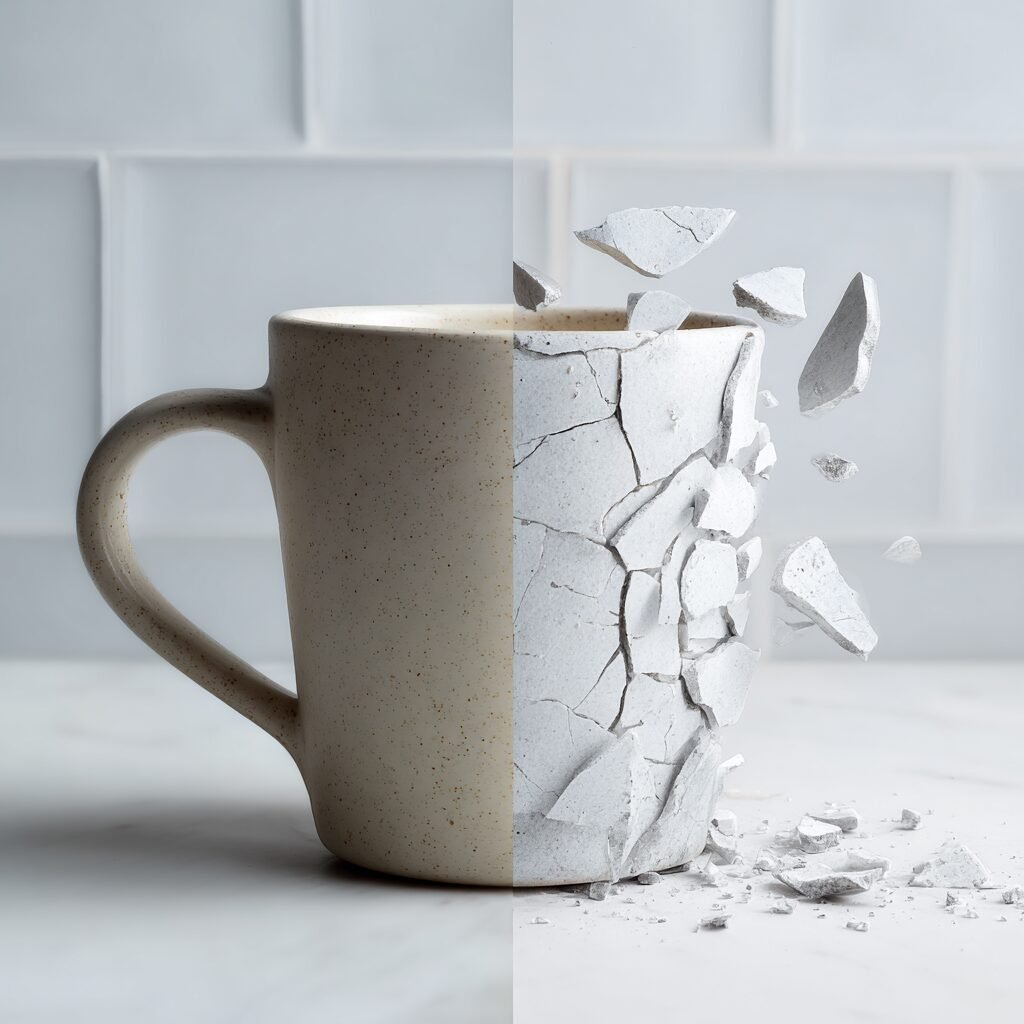
Are you tired of the dreaded “Broken on Arrival” message? Nothing sinks a handmade business faster than receiving a notification that your beautiful, unique ceramic piece—the one you spent hours creating—shattered during shipping.
The reality is, most damage happens not from careless human handling, but from high-speed, automated sorting machines that drop, toss, and crush packages rapidly. Your artwork needs more than a “Fragile” sticker; it needs industrial-level protection.
The solution is the Double Boxing Method. This isn’t just putting one box inside another; it’s creating a scientifically sound system of two distinct “crush zones” that absorb impact energy, ensuring your piece can survive a 4-to-6-foot fall.
While this method requires slightly more material cost, it saves you significantly more in refunds, lost time remaking the piece, and—most importantly—lost customer goodwill. This is your definitive guide to packaging ceramics like an insured professional.

Section 1: Pre-Packing Audit – Assessing the Fragility Quotient (The Required Arsenal)
Before you even touch the bubble wrap, you must understand your piece’s vulnerability.
1.1. Assessing Risk Level
Not all ceramics are created equal. Understand where your piece falls on the risk scale:
| Risk Level | Examples | Packaging Focus |
| Low Risk | Small, solid pinch pots, ring dishes, thick soap dishes. | Focus on secure inner wrapping and minimal rattling. |
| Medium Risk | Standard mugs with thick handles, small bowls, dinner plates. | Focus on handle protection and side-impact cushioning. |
| High Risk | Teapots (with spouts, lids), slender vases, porcelain, thin-walled pieces. | Requires triple-layered protrusion protection and custom void fill. |
1.2. The Required Packaging Arsenal
Gather these supplies before you start. Cutting corners on materials is the #1 reason for breakage:
- Inner Box: Single-wall corrugated cardboard, sized to allow 2 inches of padding space around the wrapped piece. Always use a new box for maximum structural integrity.
- Outer Box: For pieces over 5 lbs, use Double-Wall Corrugated Cardboard. This box must allow 3 inches of space on all six sides around the sealed inner box.
- Primary Wrap: Industrial-grade bubble wrap (preferably 1/2-inch diameter bubbles).
- Protrusion Wrap: Soft foam sheeting or thin paper wrap for delicate edges.
- Void Fill (Cushioning): Biodegradable foam peanuts, air pillows, or densely crumpled Kraft paper. Note: Avoid newspaper, as the ink can transfer.
- Taping: High-quality, industrial 2-inch wide packing tape. For maximum security, water-activated gummed tape is highly recommended for the final seal.
Section 2: Step-by-Step 1: The Inner Armor (Primary Wrapping & First Box)
This is the most critical stage. The inner armor protects the piece from internal movement and micro-fractures.
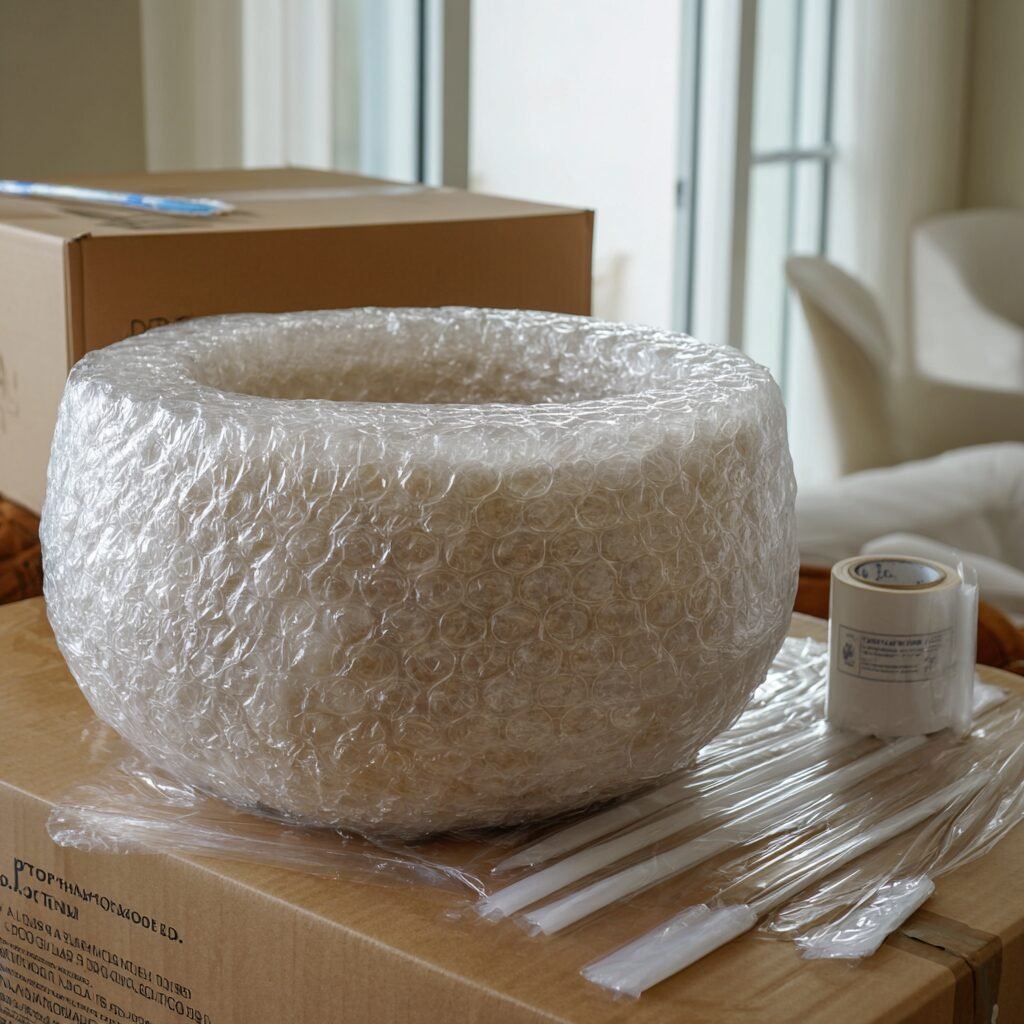
2.1. Mastering the Core Wrap (The “Mummy Wrap”)

The goal is to create a soft, sturdy cast around your piece, eliminating all sharp edges.
- Protect Protrusions First: This is where pieces fail.
- Handles and Spouts: Wrap these with a small piece of foam sheeting or extra bubble wrap, building up a solid “cast” of material around them so they are flush with the main body.
- Vase Rims and Plate Edges: Cover with thin foam sheeting before wrapping to protect against surface scratching and chipping.
- The Golden Rule: Wrap the entire ceramic piece in 3 to 5 layers of bubble wrap. Ensure the bubbles face inward towards the ceramic surface. The smooth side should be on the outside to slide easily against the box.
- Secure the Wrap: Use clear packing tape or stretch wrap to tightly secure the bubble wrap. Never let adhesive tape touch the bare ceramic.
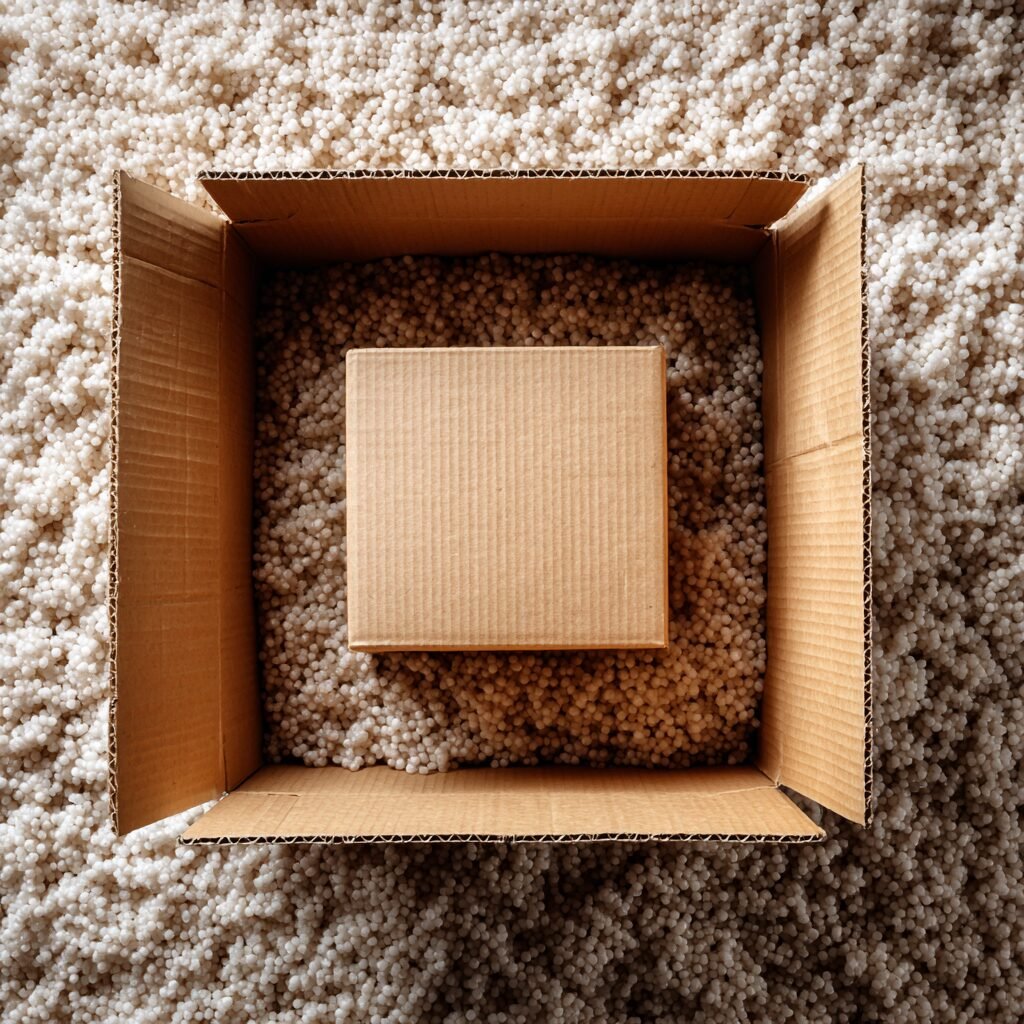
2.2. The Inner Box Protocol (Creating the First Crush Zone)
![]()
The inner box must restrict movement entirely.
- Bottom Cushion: Place 2 inches of void fill (peanuts or densely crumpled Kraft paper) on the bottom of the inner box. This is your initial cushion.
- Centering: Place the fully wrapped ceramic dead center. Never allow the wrapped ceramic to touch the box sides directly.
- Fill All Voids: Aggressively fill the 2-inch gap on all four sides and the top. Density is Key: The fill material must be compressed and firm. If you press down on the top and feel soft give, add more.
2.3. The Non-Negotiable Shake Test
Before sealing the inner box, you must perform this critical test.
- Seal the Inner Box: Use the H-tape method (sealing the center seam and both ends) with your strongest packing tape.
- The Test: Gently shake the sealed inner box. If you hear or feel any movement or rattling, the box is NOT ready. Open it immediately, add more void fill, and repeat the test until the box is completely silent and solid. Movement, no matter how small, leads to breakage.
Section 3: Step-by-Step 2: The Outer Shield (The Final Cushion Zone)
The outer box and the void space inside it are responsible for absorbing all external, high-impact shocks during transit.
3.1. Choosing the Final Container
- The 3-Inch Rule: The outer box must be sized to leave a minimum of 3 inches of cushioning space on all six sides around the sealed inner box. This 3-inch gap is the primary shock absorber.
- Strength: For almost all ceramics, investing in a Double-Wall Corrugated Box is the wisest decision.
3.2. Building the Floating Core
The goal is to make the inner box “float” securely within the outer box.
- Bottom Cushion: Place a full 3 inches of void fill (peanuts, foam sheets, or large air pillows) at the bottom of the outer box.
- Placement: Place the sealed inner box directly on top of this bottom cushion. The inner box must be centered.
- Filling the Cushion Zone: Fill the remaining 3-inch gap on all four sides and the top. Pack the material tightly—you should have to gently force the void fill into the space. The inner box should not be easily pushed sideways or downwards. This density creates the final, robust crush zone.
3.3. The Final Seal and Labeling Protocol
- Taping Mastery: Use high-quality, wide packing tape. Employ the 6-Strip Method (sealing the center seam, and then sealing all four corner edges) for maximum security and structural integrity.
- Gummed Tape Advantage: For regular shippers, water-activated gummed tape is superior. It chemically bonds to the cardboard, making the box almost impossible to tamper with and adding considerable strength.
- Labeling and Proof:
- Ensure the shipping label is clear and securely taped.
- Pro Tip: For high-value pieces, take a photograph of the sealed inner box placed inside the empty outer box, and then a photo of the fully sealed outer box. This visual proof can be a lifesaver if an insurance claim dispute arises.
Section 4: Advanced Cost & Compliance Check (The Business Edge)
Leona Zeolar’s blog is for ceramics professionals, so let’s address the crucial business side of shipping.
4.1. The Material Cost Audit
Always factor the cost of your materials into your final retail price and shipping fee. While you might spend an extra $2-$5 on materials per package, this is exponentially cheaper than covering a $50-$200 refund for a broken piece and losing a customer forever.
4.2. Insurance and the “Adequate Packaging” Clause
This is the most critical business warning:
- The Carrier Loophole: All major carrier insurance policies (USPS, FedEx, UPS) contain language about “Adequate Packaging.” If your piece breaks and the carrier inspector determines the packaging was not up to their standards (e.g., you used a single box, or there was rattling), the insurance claim will be denied, even if you paid for coverage.
- Your Defense: The Double Boxing Method is your strongest defense against this claim denial. It demonstrates that you took every reasonable measure to protect the piece.
Conclusion: The Peace of Mind Payoff
Double boxing may seem tedious, but it is the industry-tested standard for shipping fragile items successfully. The payoff is simple: you trade a few extra minutes and a few extra dollars for complete peace of mind, a low breakage rate, and—most importantly—happy, returning customers.
Remember the two core principles:
- No Movement Inside the Inner Box.
- Full Cushioning Between the Inner and Outer Box.
Now that you’ve mastered packaging, you need to master pricing. The next challenge is making sure the shipping cost doesn’t sink your sale!