
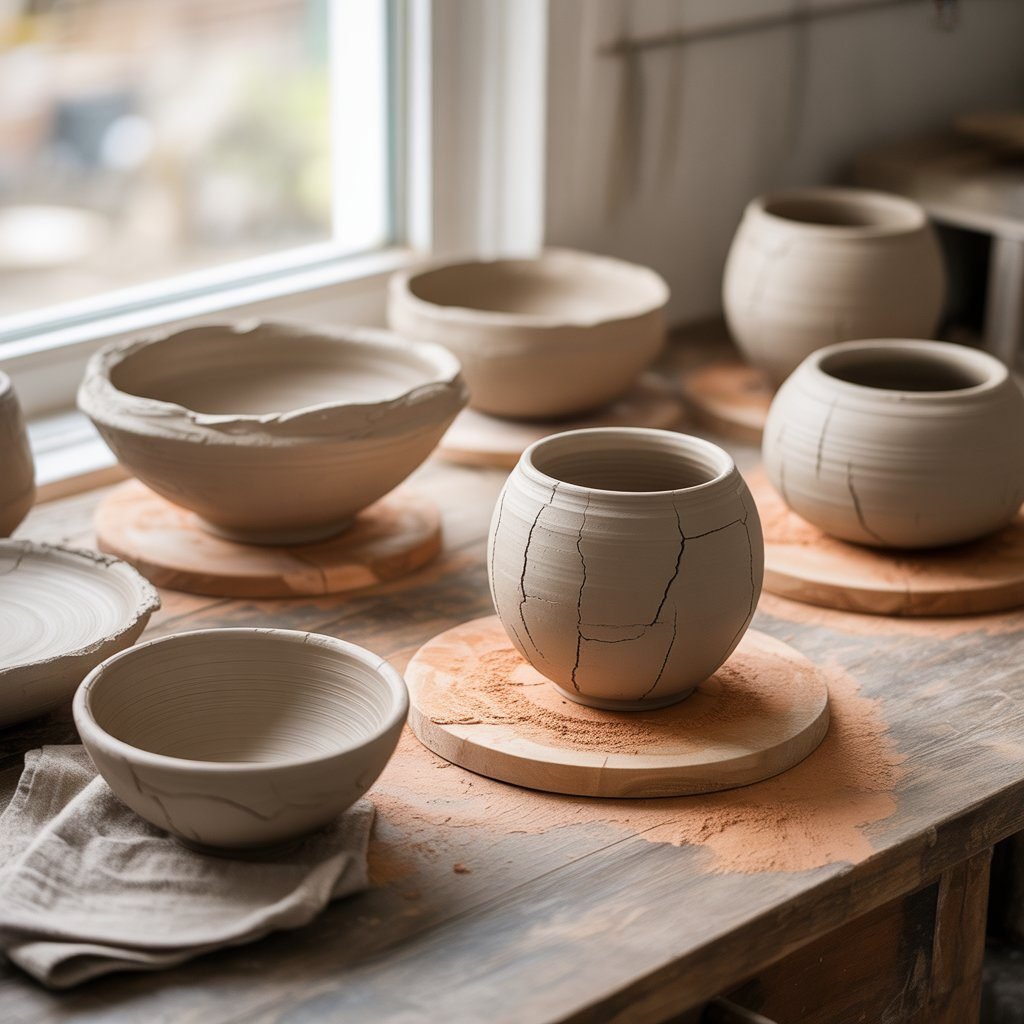
If you’ve ever opened your pottery studio door—or checked your shelf at home—only to find cracks running through a piece you were proud of, you’re not alone. Cracking is one of the most frustrating problems potters face, especially beginners, but even experienced ceramic artists struggle with it from time to time.
The good news?
Most cracks don’t happen randomly. They are almost always caused by specific drying mistakes, and once you understand them, you can prevent them.
In this guide, we’ll break down why pottery cracks during drying, the five most common mistakes, and—most importantly—how to fix and prevent them. Whether you’re hand-building, wheel-throwing, or working on functional ceramics like bowls, mugs, or plates, this article will help you protect your work and improve your results.
Understanding Why Pottery Cracks During Drying

Before we get into mistakes, it’s important to understand what drying actually does to clay.
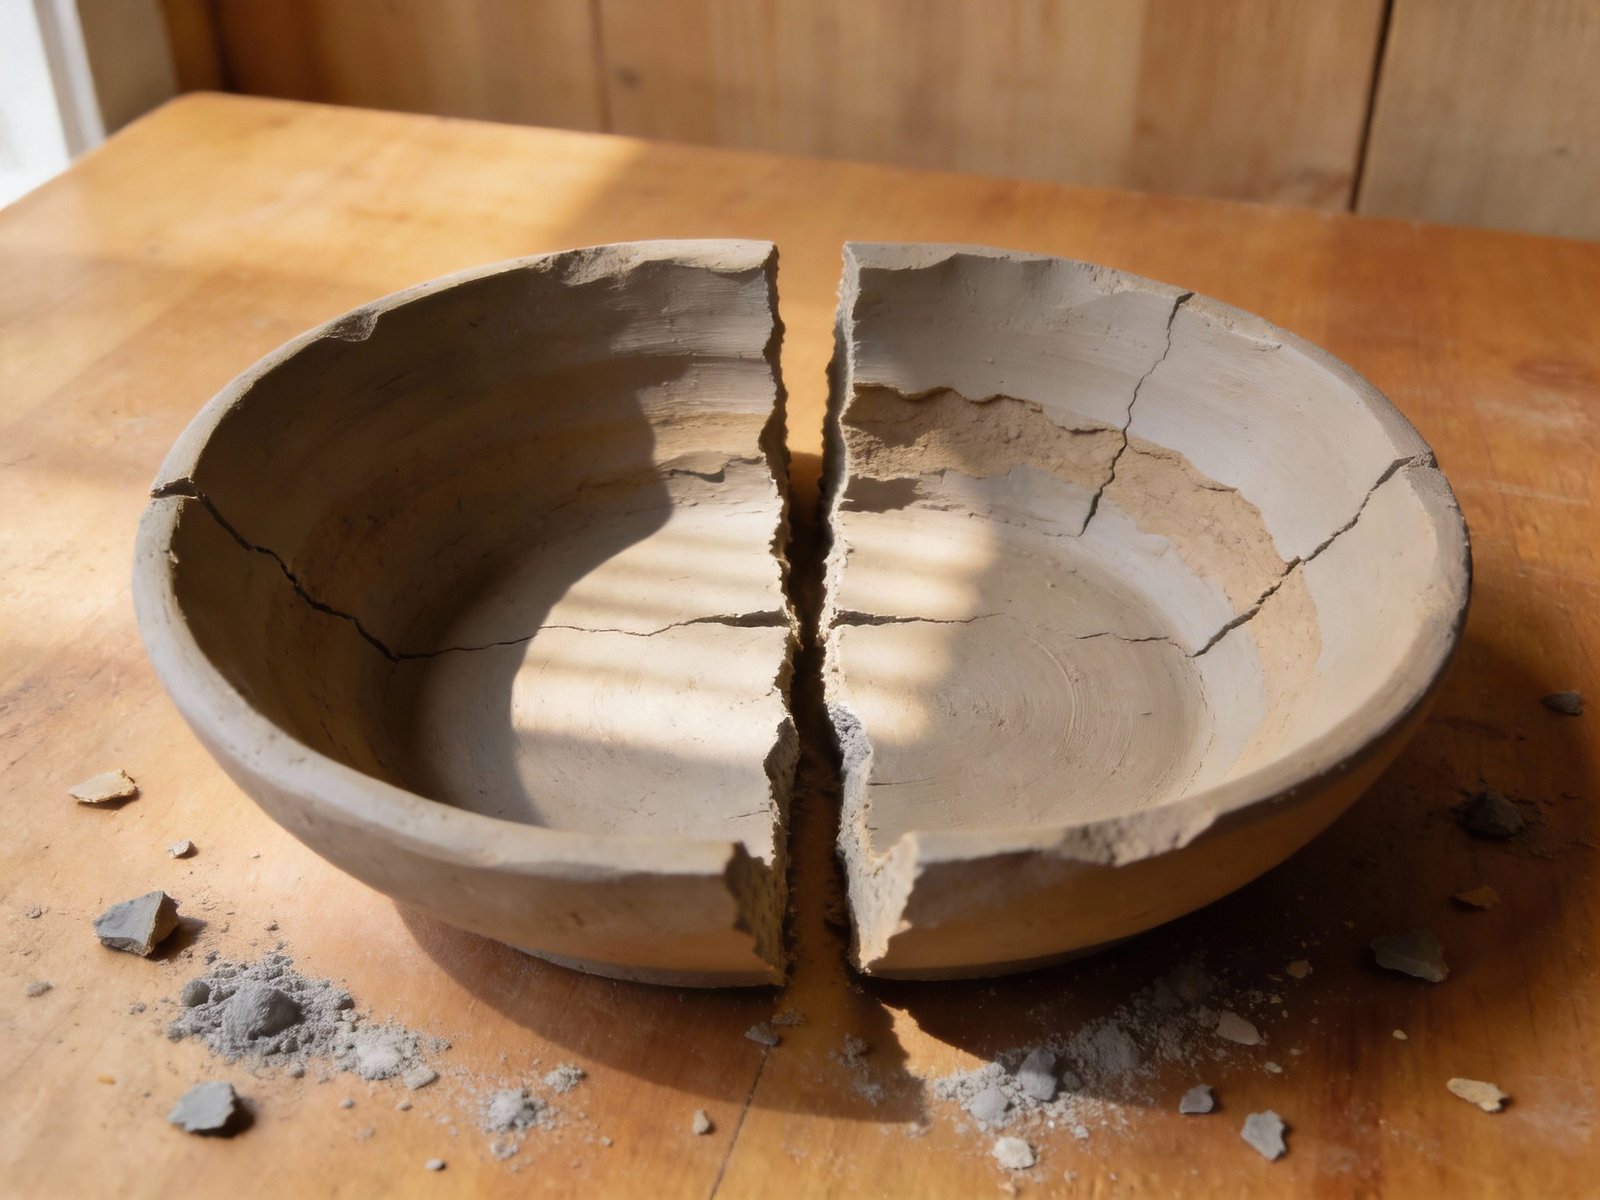
Clay contains water between its particles. As this water evaporates, the clay shrinks. This shrinkage is normal and unavoidable—but if it happens unevenly, stress builds up inside the piece. When that stress becomes too much, the clay cracks.
Cracks are not caused by firing.
They are almost always born during drying, even if they only become visible later.
The key to preventing cracks is simple in theory:
Make sure the entire piece dries slowly, evenly, and at the same rate.
Now let’s look at the mistakes that stop that from happening.
Mistake #1: Drying Too Fast
Why This Causes Cracks
Fast drying is the number one cause of cracked pottery.
When the outer surface of a piece dries faster than the inside, it starts shrinking while the inner clay is still wet and expanded. This creates tension between layers—and that tension often releases as cracks.
Common reasons pottery dries too fast:
- Strong airflow
- Direct sunlight
- Heaters or fans
- Very dry climates
- Leaving pieces uncovered
Thin areas dry faster than thick ones, so the stress becomes even worse.
How to Fix It
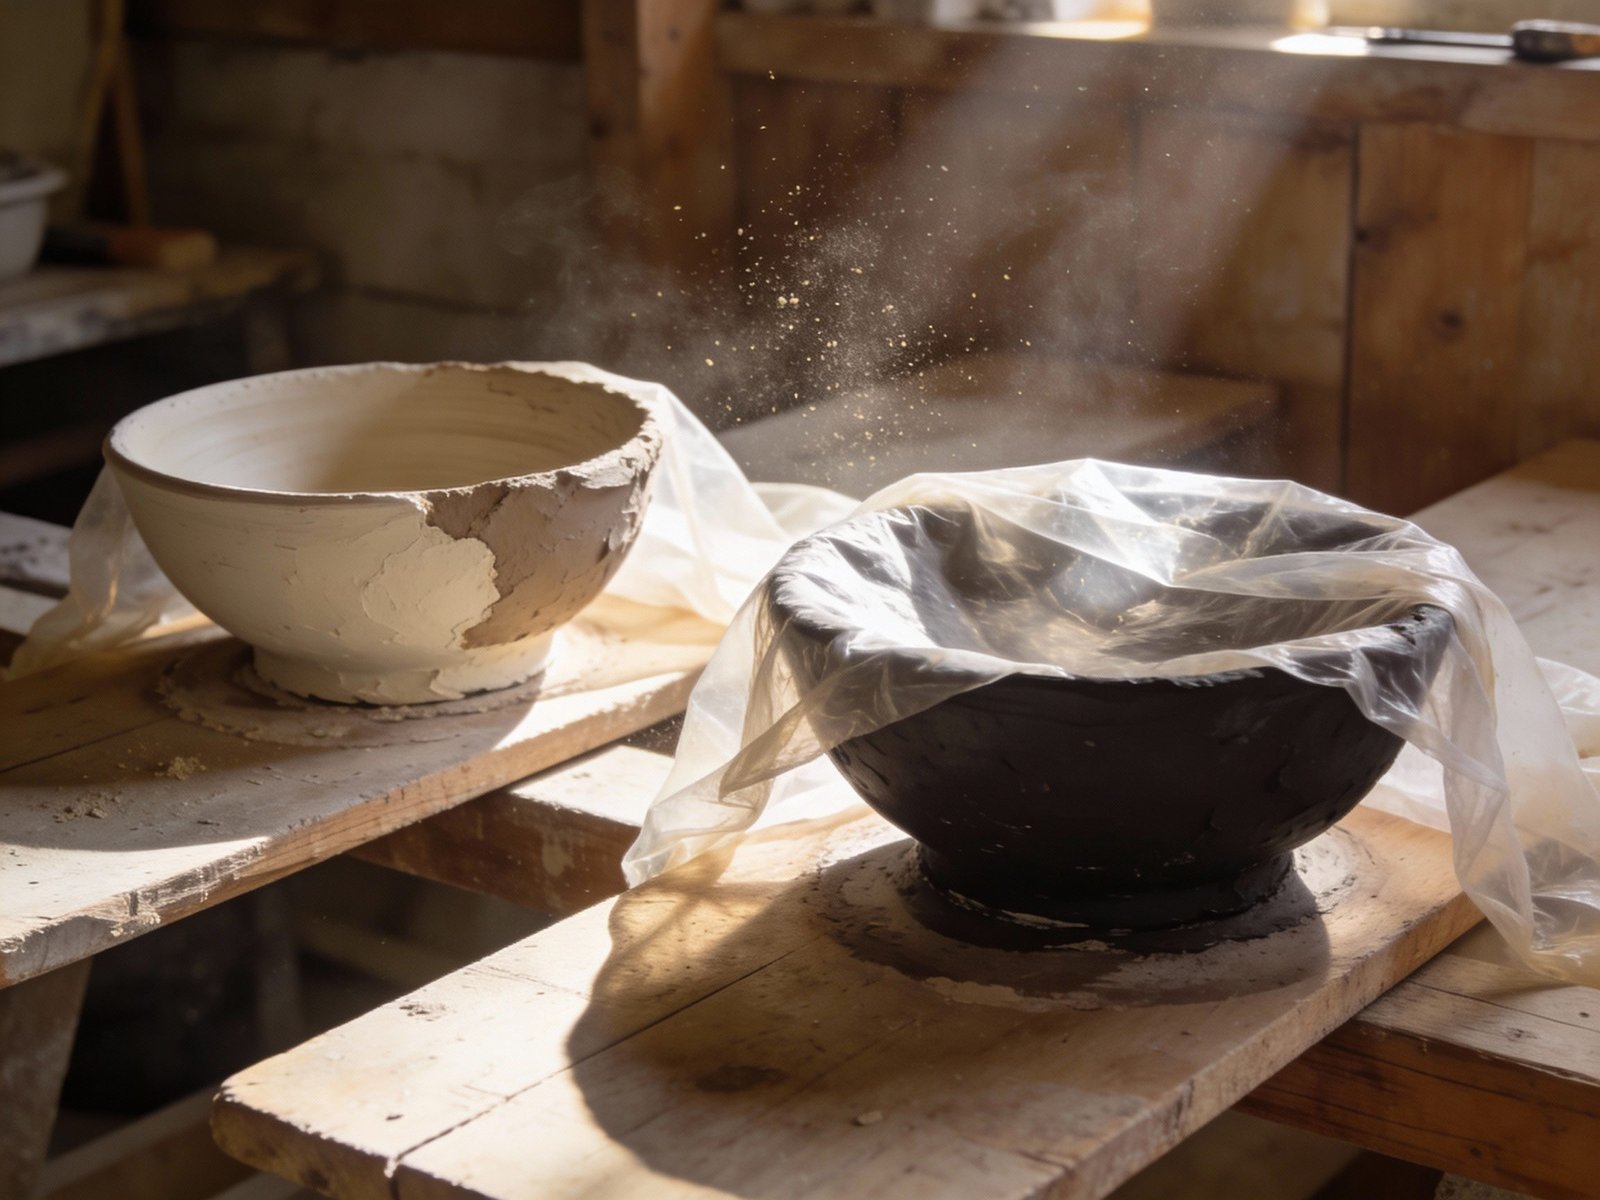
Slow drying is your best friend.
Practical solutions:
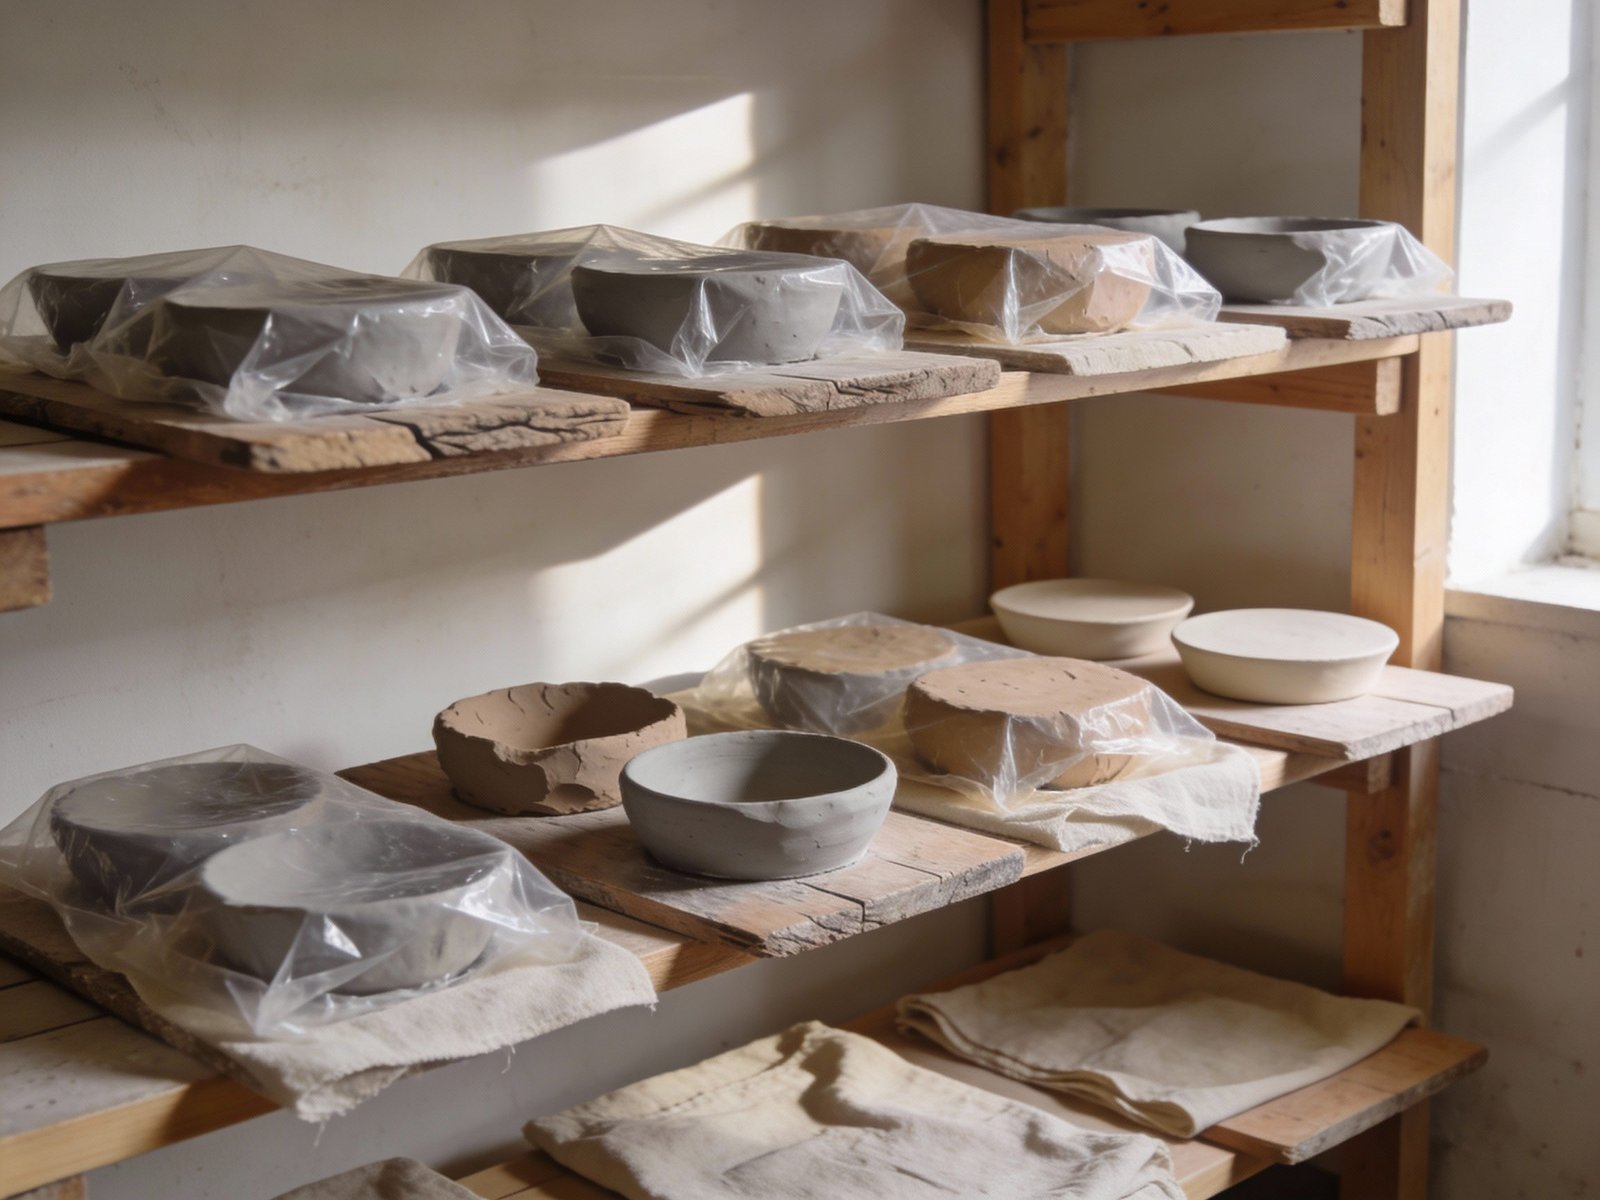
- Cover pieces loosely with plastic
- Use damp boxes or plastic bins
- Let air circulate gently, not directly
- Avoid windows, heaters, and fans
- Dry pieces on wooden boards instead of metal or plastic
For larger or thicker pieces, keep them covered for several days, gradually uncovering them.
Rule of thumb:
If you think it’s drying slowly enough—slow it down even more.
Mistake #2: Uneven Wall Thickness
Why This Causes Cracks
Clay shrinks as it dries, but thicker areas shrink more slowly than thinner ones. When different parts of the same piece dry at different speeds, internal stress builds up.
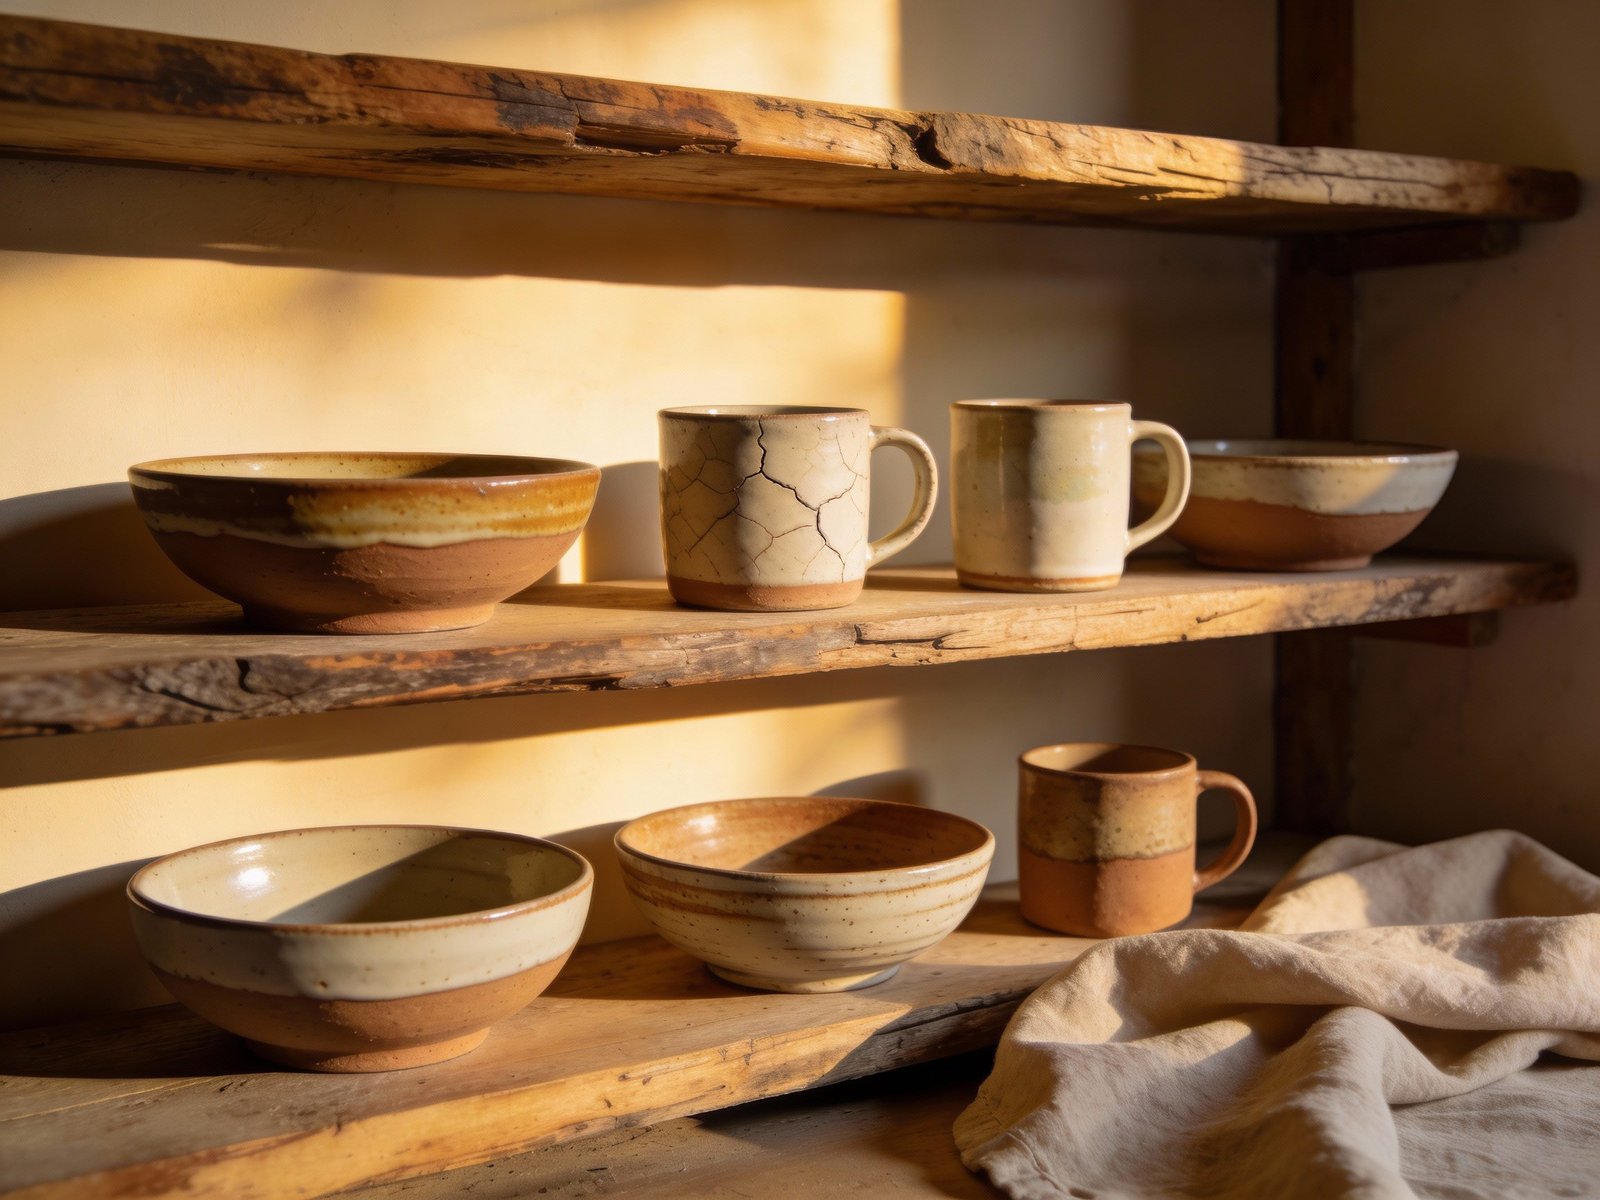
This is extremely common in:
- Bowls with thick bases
- Mugs with heavy handles
- Plates with uneven rims
- Sculptural pieces
Even small thickness differences can cause cracking.
How to Fix It
Consistency is everything.
While working:
- Compress clay evenly
- Check thickness by feel
- Use ribs to smooth and even walls
- Trim excess thickness early
For handles and attachments:
- Match moisture levels before attaching
- Avoid attaching very wet clay to leather-hard pieces
- Support handles while drying
A well-balanced piece dries evenly—and survives.
Mistake #3: Poor Clay Compression
Why This Causes Cracks
Clay particles naturally want to pull apart as water leaves them. Compression aligns those particles, making the structure stronger and more resistant to cracking.
Without proper compression:
- Plate bottoms crack
- Bowl centers split
- Slabs warp and tear
This is especially common in hand-building and wheel-throwing flat surfaces.
How to Fix It
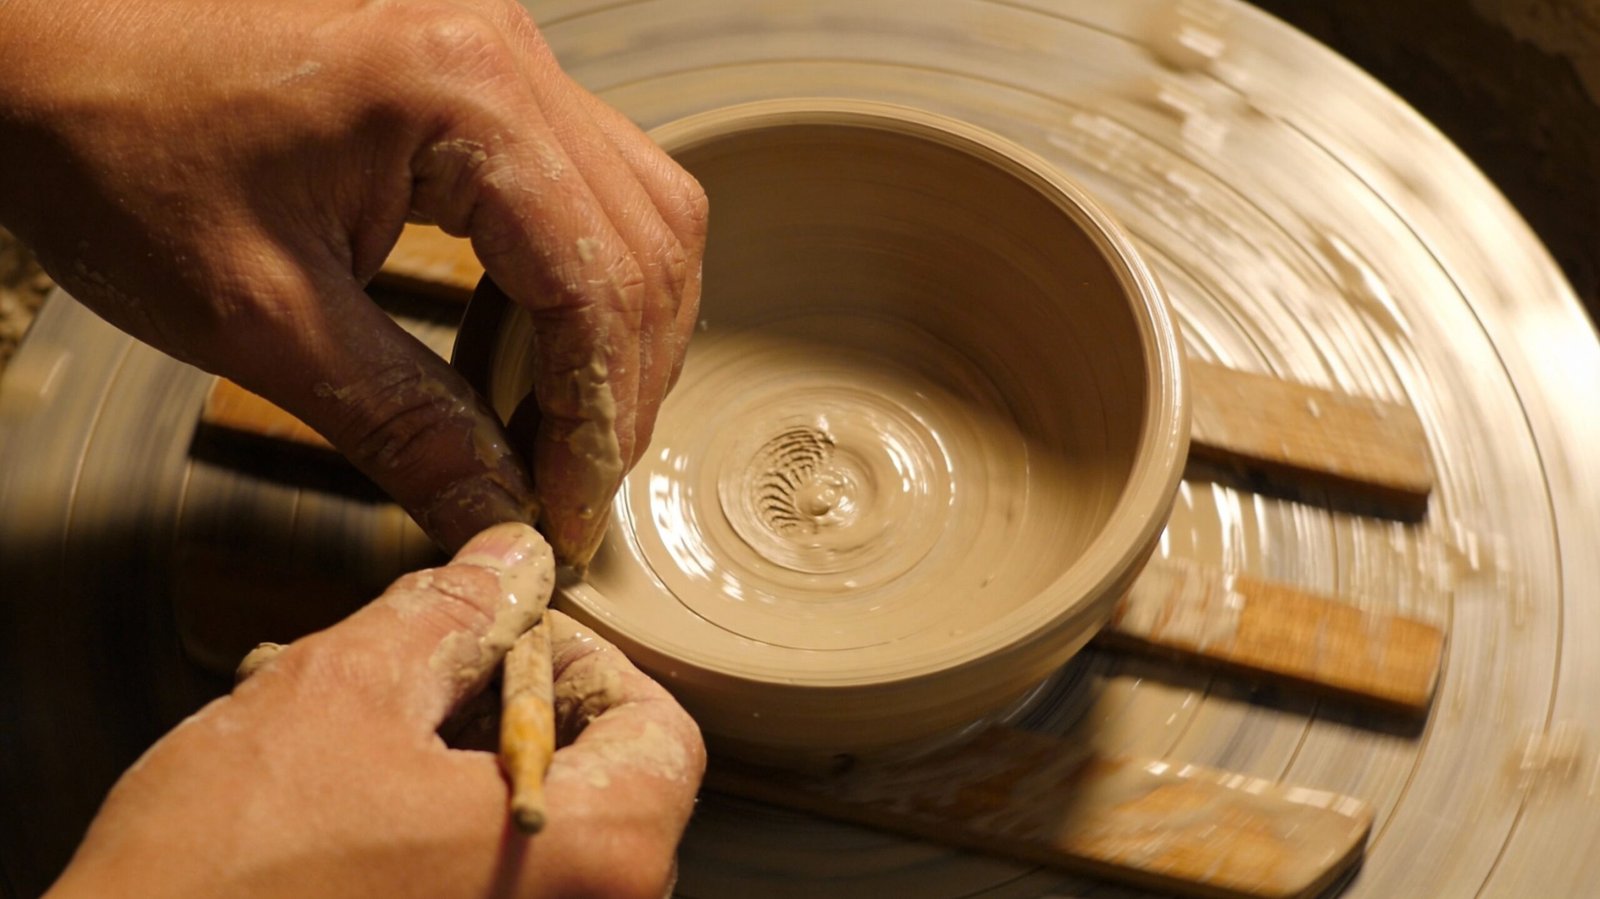
Compression should become a habit.
On the wheel:
- Compress the base multiple times
- Use ribs during final shaping
- Smooth surfaces in different directions
In hand-building:
- Compress slabs with ribs or rollers
- Smooth seams carefully
- Avoid leaving rough, open clay surfaces
Compression doesn’t just prevent cracks—it improves strength and finish.
Mistake #4: Attaching Parts Incorrectly
Why This Causes Cracks
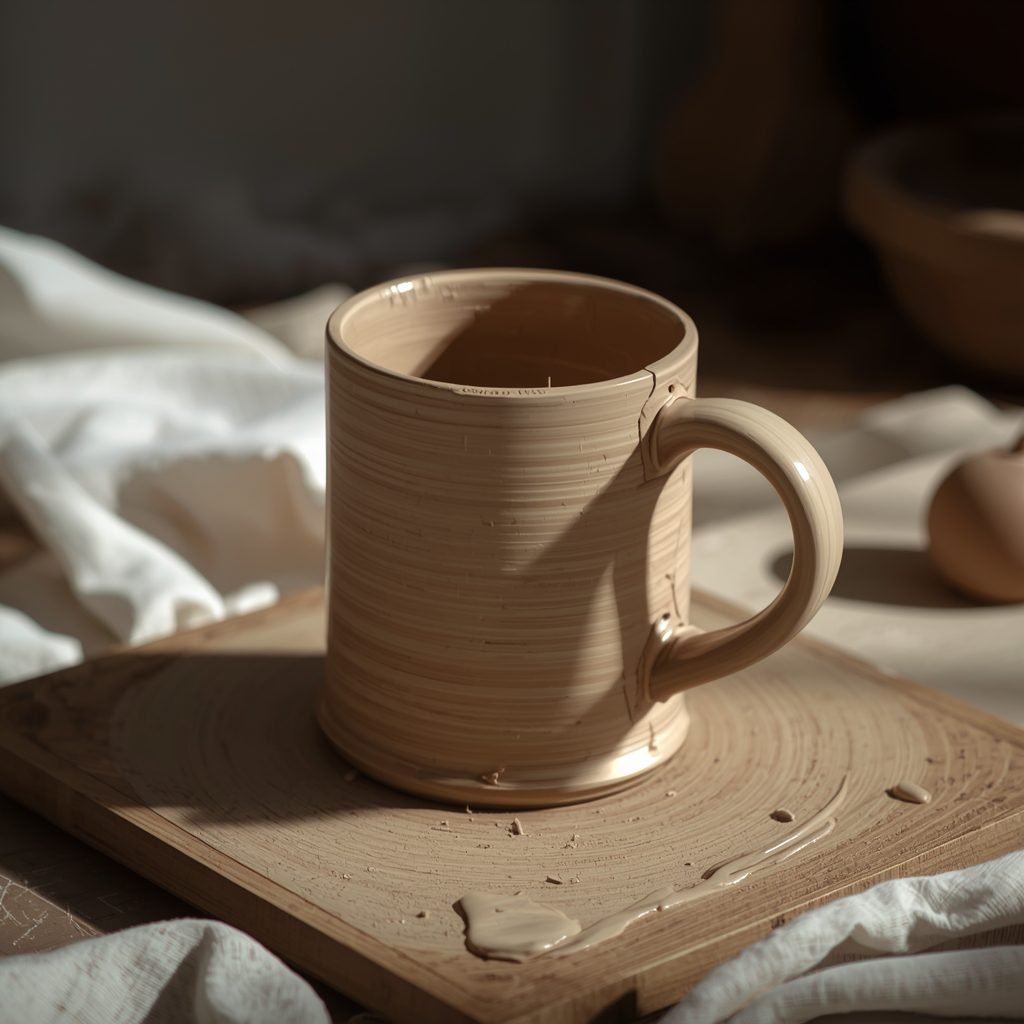
Handles, spouts, feet, and decorative elements are frequent crack points.
Cracks appear because:
- Parts dry at different rates
- Joints are weak
- Moisture levels don’t match
- Attachments pull as they shrink
A cracked handle or seam usually means the connection failed during drying—not firing.
How to Fix It
Strong attachments require patience and preparation.
Best practices:
- Score deeply and evenly
- Use proper slip (same clay body)
- Match moisture levels
- Compress joints firmly
- Support attachments while drying
After attaching, cover the entire piece—not just the joint—so everything dries together.
Mistake #5: Ignoring the Base and Bottom
Why This Causes Cracks

The bottom of a piece is often overlooked—but it’s one of the most vulnerable areas.
Problems include:
- Sitting on non-porous surfaces
- Uneven airflow
- Thick, untrimmed bases
- No compression
If the bottom dries slower than the walls, cracks often appear around the base or center.
How to Fix It
Give the bottom equal attention.
Tips:
- Dry pieces on wood or drywall
- Flip pieces occasionally during early drying
- Trim bases evenly
- Compress bottoms thoroughly
- Avoid sealing the base completely while the rest dries
Balanced drying from top to bottom prevents hidden stress.
How to Dry Pottery Correctly (Step-by-Step)
Here’s a simple, reliable drying process you can follow:
- Initial stage: Cover loosely with plastic
- Mid stage: Allow limited airflow
- Leather-hard stage: Turn pieces if needed
- Final stage: Fully uncover slowly
- Bone dry: Wait before firing
Never rush from wet to bone dry in one step.
Can You Fix Cracks After They Appear?
Sometimes—but not always.
Hairline cracks (leather-hard):
- Compress gently
- Add soft clay or slip
- Smooth carefully
- Slow drying immediately
Deep cracks or bone-dry cracks:
- Usually not reliable
- Often reopen during firing
Prevention is far more effective than repair.
Choosing the Right Clay Body Matters
Some clays are more forgiving than others.
More crack-resistant clays:
- Stoneware with grog
- Sculpture clay
- Mid-range clay bodies
More sensitive clays:
- Porcelain
- Fine, smooth clays
- Very plastic bodies
If you’re struggling with cracking, switching clay bodies can make a huge difference.
Climate and Environment: The Invisible Factor
Your environment plays a bigger role than you think.
Dry climates:
→ Slow everything down, use plastic more
Humid climates:
→ Watch for uneven drying and mold
Cold spaces:
→ Drying slows but can still be uneven
Adapt your process to your environment—not the other way around.
Why Cracking Is Part of Learning Pottery
Every cracked piece teaches you something.
Most experienced potters can tell you:
- They cracked hundreds of pieces
- Each failure improved their process
- Mastery came from observation, not perfection
Cracking is not failure—it’s feedback.
Final Thoughts: Cracks Are Preventable
If your pottery keeps cracking, it’s not bad luck—and it’s not lack of talent.
It’s usually one of these five things:
- Drying too fast
- Uneven thickness
- Poor compression
- Weak attachments
- Ignoring the base
Fix those, and your success rate will rise dramatically.